
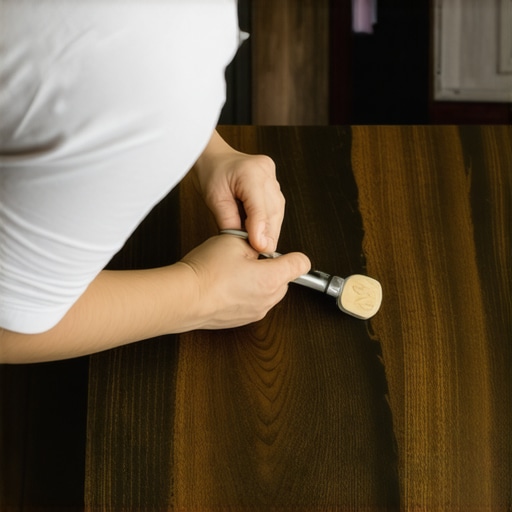
I’ll never forget the moment I looked down at my newly installed dark walnut hardwood floor and spotted a glaring scratch that seemed to undo all my hard work in an instant. It was that sinking feeling, you know? Like I had just sabotaged my own space without even realizing it. But here’s the thing—I’ve been there, and I learned a few tricks along the way that turned my mishap into a minor bump in the road.
Why Fixing Scratches in Dark Walnut Matters More Than You Think
Dark walnut floors are stunning, adding a rich warmth and elegance to any home. But with their deep, moody finish, even tiny scratches stand out like neon signs. If left untreated, these blemishes can diminish the overall look and feel of your flooring, making your space look worn and neglected. Plus, trying to ignore or hide them only leads to more frustration later on.
Many folks assume that fixing scratches in dark walnut requires a professional, expensive intervention. While it’s true that some issues demand expert skills, a lot of minor cosmetic fixes are within reach for the handy homeowner. When I first tried to repair my scratches, I made the mistake of using a generic furniture polish—turns out, that only made the problem worse by messing with the finish. Trust me, understanding the right materials and techniques can save you a bundle—and a lot of stress.
Did you know that small scratches can even be a sign that your finish is wearing thin? According to experts in hardwood floor care, regular maintenance and timely touch-ups keep your floors looking pristine longer. With just a few simple steps, you can restore that gorgeous dark walnut shine and prevent minor scratches from turning into bigger problems.
So, if you’ve faced a scratch that’s bugging you or just want to learn how to keep your dark walnut floors looking flawless, you’re in the right place. We’re about to dive into practical, easy-to-follow tips that will help you fix those scratches yourself—no pro needed. Ready to bring your beautiful flooring back to life? Let’s get started!
Will DIY fixes really work on dark walnut? Or am I doomed to call a pro?
This was my biggest fear early on, especially when I saw how easily dark finishes show every nick and scratch. I thought only professionals could handle it. But I learned that with proper knowledge and a few household items, you can make significant improvements yourself. The key is avoiding common mistakes, like using harsh abrasive tools, which can worsen the problem. If you’re curious about the pitfalls to avoid, check out this article on flooring installation mistakes. It highlights some pitfalls that can trip up homeowners, but also gives clues on how to sidestep them.
In the next sections, I’ll walk you through my tried-and-true methods to repair that pesky scratch, restoring your dark walnut floors’ beauty without breaking the bank or waiting for a handyman. Let’s make those imperfections fade away, shall we?
Assess and Prepare the Damage
Start by examining the scratch to determine its depth. Light surface scratches can often be fixed with simple methods, while deeper gouges may require more extensive repairs. For this, I took a close-up photo of the scratch to compare after repairs, ensuring I could track progress effectively.
Clean the area thoroughly with a soft cloth and a hardwood floor cleaner to remove dirt and oils that could interfere with adhesion. Remember, a clean surface is essential for the repair materials to bond properly.
Select the Appropriate Repair Product
Matching the Finish and Color
Dark walnut finishes are rich and deep, so choosing the right touch-up kits is crucial. Use a wax stick or wood stain pen that matches the color. When I repaired my floor, I used a dark walnut wax stick, warming it slightly to ease application. Testing on a hidden spot first can prevent unwelcome surprises.
Applying the Wax or Stain
Gently fill the scratch with the wax stick, pressing it into the groove. Use a plastic scraper or your finger to smooth the surface, removing excess wax. For better blend, gently buff the area with a soft cloth. I learned that patience and small, controlled applications yield the best results, especially on dark finishes where over-application shows easily.
Refine and Protect the Repair
Once the wax cools, buff the area with a fine steel wool #0000 or a soft cloth to level the repair and restore gloss. Be cautious not to scratch around the repair site. In my experience, this step really helps merge the repair with the surrounding flooring, making the fix almost invisible.
To further protect the repaired area, apply a small amount of a compatible polyurethane finish or floor polish. This seals the repair and adds a layer of protection against future scratches. I used a clear hard finish and applied with a small brush, allowing it to dry thoroughly before walking on the area.
Prevent Future Scratches
Consider placing felt pads under furniture legs and using area rugs in high-traffic zones. Regular maintenance, like sweeping and applying rejuvenating finishes, can keep your dark walnut floors looking their best longer. For more detailed tips on hardwood floor care, visit this guide.
By following these concrete steps, I successfully minimized the appearance of my scratches and restored my dark walnut floors’ elegance. Remember, patience and gentle approaches are key when working with deep, rich finishes.
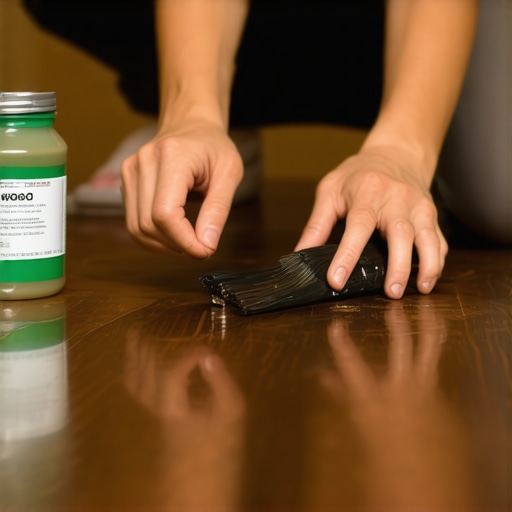 When it comes to installing hardwood floors, tile, or leveling uneven subfloors, many homeowners and even some contractors fall prey to misconceptions that can compromise the final result. Let’s uncover some hidden nuances and dispel those widespread myths that might be leading you astray.
A prevalent misconception is that a level subfloor isn’t crucial for success. On the contrary, even minor unevenness can cause tiles to crack or produce squeaky floors over time. According to industry experts, proper ^floor leveling^ techniques are essential for a durable finish. Skipping this step or rushing through it often results in costly repairs later, which could have been avoided by consulting detailed guides like ^this one on floor leveling^.
Another common belief is that all wood finishes are interchangeable, and you can fix scratches or imperfections with generic products. Not so. Dark hardwoods, especially, require precise matching of stains and finishes to preserve their aesthetic appeal. Using the wrong type of polyurethane or stain can lead to mismatched hues and a blotchy appearance that screams DIY mistake. Learning about the nuances of finish selection can significantly enhance your project’s success.
On the topic of tile installation, many assume that spacers are a one-size-fits-all solution. In reality, choosing the correct tile spacers and understanding their impact on grout lines can make or break the overall look. Larger gaps are not always better; they can lead to uneven grout application and missed tight joints. Experts recommend adjusting spacer size based on tile size and pattern for a seamless appearance.
Now, let’s address an advanced question that trips up even seasoned DIYers: How critical is substrate preparation in ensuring long-lasting tile adhesion? The answer is, incredibly. Improper preparation can cause tiles to loosen or crack prematurely. A detailed approach involves cleaning, priming, and sometimes self-leveling compounds. For an in-depth look, refer to ^this comprehensive guide on subfloor prep^.
Taking shortcuts or ignoring these nuances can undermine your entire project. Remember, investing time in understanding and executing proper procedures isn’t just about aesthetic appeal—it directly affects durability and safety. Have you ever fallen into this trap? Let me know in the comments.
For more insights on achieving flawless finishes and avoiding common pitfalls, visit our ^flooring installation fundamentals^ page or explore innovative tile designs that elevate your hardwood floors’ style.
Keep Your Floors in Prime Condition: Essential Tools and Methods
Maintaining beautiful hardwoods and pristine tile isn’t just about cleaning; it’s about employing the right tools and techniques that preserve their integrity over time. As a homeowner, investing in quality equipment and understanding effective methods ensures your floors remain stunning for years. One of my top recommendations is a high-quality microfiber mop, such as the Norwex Ultra-Fine Mop, which traps dust and dirt without scratching delicate surfaces. paired with a pH-neutral hardwood cleaner, it keeps finishes intact and prevents buildup that can lead to scratches or dullness.
For deeper cleaning or dealing with stubborn stains, I turn to a specialized grout brush like the OXO Good Grips Scrub Brush. Its angled design reaches tight grout lines in tiled areas, making maintenance a breeze. When it comes to hardwoods, a DustMop with natural fiber bristles facilitates gentle agitation, avoiding harsh abrasives that can damage finishes. Additionally, a soft, damp cloth is indispensable for regular dusting and wiping spills, maintaining the natural luster of wood and preventing moisture-related issues.
In terms of repair tools, I always keep a wood touch-up kit on hand, including matching stain pens and wax sticks, which allow quick fixes without costly professional help. For leveling uneven areas before installation or repairs, a professional-grade self-leveling compound like ARDEX R2 is invaluable. Its rapid-setting properties and excellent bonding make it a reliable choice for seamless results, as documented in industry standards.
Predicting the Future of Floor Maintenance
Looking ahead, I believe the integration of smart technology with floor maintenance tools, such as app-controlled robotic vacuums equipped with gentle microfiber brushes, will revolutionize how we care for our surfaces. These advancements promise to make upkeep more efficient and less labor-intensive, giving homeowners more confidence in their flooring’s longevity.
How do I maintain flooring over the long term? Open to expert advice?
To keep floors looking their best, establish a regular maintenance routine that includes dusting, gentle cleaning, and prompt spill removal. Layering protective measures like felt pads under furniture and area rugs in high-traffic zones minimizes scratches and wear. Periodic refinishing or resealing is essential to preserve the finish—consider consulting guides like this resource on flooring renewal for tailored advice.
Try implementing a weekly regimen with tools like a microfiber mop and grout brush, coupled with monthly deep cleans using appropriate products. These practices, combined with periodic inspections, prevent minor issues from escalating, ultimately extending the life and beauty of your floors.
Remember, proper maintenance is an ongoing process. The right tools and techniques are your best allies in keeping your floors as stunning as the day they were installed. For specialized tips or repairs, consider reaching out to professionals through our contact page. Don’t hesitate to experiment with advanced tips, like applying a fresh layer of protective finish, which can dramatically enhance durability and appearance over time.
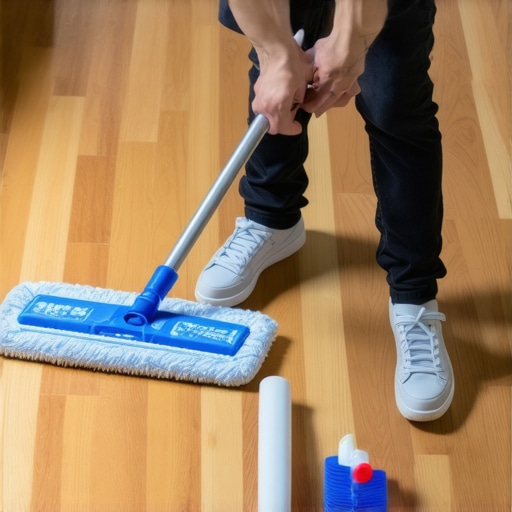
Image Prompt: A homeowner using a microfiber mop on polished hardwood floors, with a grout brush nearby and a faint view of tiles in the background, illustrating proactive maintenance techniques. Alt text: Homeowner maintaining flooring with specialized tools to preserve its shine and longevity. Title: Floor Maintenance Tools in Action for Long-Term Results.
The Unexpected Lessons That Changed My Approach to Floor Renovation
One of the most valuable insights I gained was realizing that patience is your greatest ally. Rushing through repairs often leads to visible mismatches, especially on dark finishes that reveal every imperfection. Taking the time to carefully select the right materials and apply them meticulously made all the difference in achieving a flawless look. Additionally, I learned that embracing a minimalist approach—less is often more—helps the repair blend seamlessly with the original finish, preserving the luxurious depth of dark walnut.
Beyond Basic Repairs: Elevate Your Flooring Game with These Tools
To truly maintain and enhance dark walnut floors, investing in specialized tools has been transformative. A high-quality wood stain pen that matches the rich hue allows for precise touch-ups, while a soft buffing pad helps restore shine without removing the finish. For larger areas, a quality floor buffer with a lambswool pad can revitalize the entire surface, giving it a polished, new appearance. These tools have become my go-to arsenal for keeping my floors looking pristine and inviting.
Ignite Your Passion for Perfect Floors
Now, more than ever, I believe that the beauty of your home is defined by the care you put into its details. Dark walnut floors are a statement piece, and with the right techniques and mindset, you can preserve or even elevate their allure. Don’t let small scratches or imperfections deter you—view them as opportunities to deepen your understanding and skill. Your journey toward flawless flooring starts today. Ready to transform those tiny blemishes into triumphs? Share your experiences or ask questions below—I’d love to hear your story!