
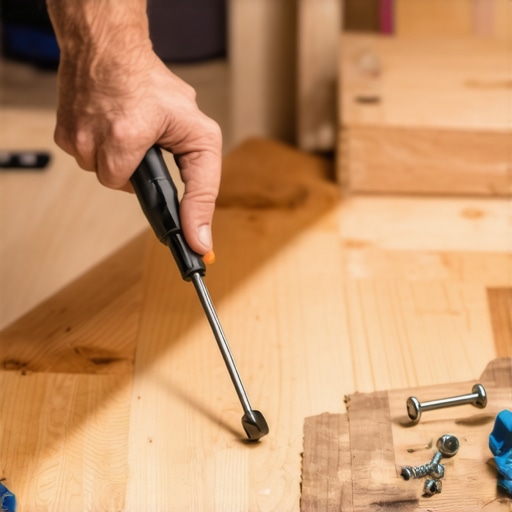
Ever had a stair tread wobble under your foot, making you grip the banister a little tighter? I remember the lightbulb moment in my own home when a loose stair became a shaky hazard, and I realized there had to be a simple fix—without tearing out the riser. It was frustrating at first, thinking I needed to rip apart the entire staircase, but surprisingly, I found an effective solution that saved time, money, and my nerves.
Why Addressing Loose Stair Treads Without Removing the Riser Matters
Loose stair treads are more than just an annoyance—they can be a safety risk. Tripping on a wobbly step could lead to serious injury, and if left untreated, the problem can worsen over time. The good news is, you don’t have to dismantle the whole staircase to fix it. This approach preserves your home’s aesthetic and structure, avoids costly renovations, and gets your staircase back to safe and solid in no time.
Is This DIY Fix Really Effective or Just a Short-Term Patch?
Early on, I made the mistake of assuming that always replacing the entire stringer or removing the riser was the only solution. That assumption led to unnecessary work and expense. Through trial, error, and a bit of research, I learned that many times, a carefully applied method can restore stability without invasive procedures. In fact, experts agree that with proper technique, these quick fixes last for years. Want to learn how I did it? Keep reading, and I’ll walk you through the step-by-step process that can help you regain stability—no home renovation required.
Want to see more tips? Check out Mastering Floor Leveling Secrets for related flooring insights or reach out to professionals if you’re unsure. Now, let’s get your staircase solid again with a straightforward technique anyone can do.
Prepare Your Workspace and Gather Materials
Before diving into repair, clear the area beneath the stairs to ensure safety and easy access. Gather essential tools such as a utility knife, pry bar, hammer, wood chisel, screwdriver, and screws or brackets. For materials, you’ll need wood shims, wood glue, wood filler, and possibly countersink screws.
Inspect and Identify the Looseness Source
Carefully examine the wobbly tread to determine whether the problem stems from loose nails, screws, or degraded adhesive. In my experience, the most common cause is gaps between the tread and the riser or stringer, often caused by wood expansion, contraction, or wear over time.
Remove the Tread Carefully
Using a utility knife, cut through any residual caulk or paint sealing the edges. Then, gently pry up the front edge of the tread using a pry bar, working slowly to avoid damaging the surrounding wood. Once loose, lift the tread with assistance to prevent sudden drops or squeaks.
Assess and Reinforce the Attachment Points
Check the underside of the tread and the stringer for any missing or loose nails or screws. Remove any damaged fasteners. To add stability, drill pilot holes into the stringer, then install new screws or brackets at the attachment points. This approach is akin to tightening a loose bolt to prevent wobbliness.
Use Wood Shims for a Tight Fit
Insert thin wood shims between the tread and the riser or stringer where gaps exist. Tap them gently with a hammer until the tread sits flush and firm underfoot. This method is similar to slipping a wedge between two boards to lock them in place, preventing future movement.
Apply Adhesive for Lasting Stability
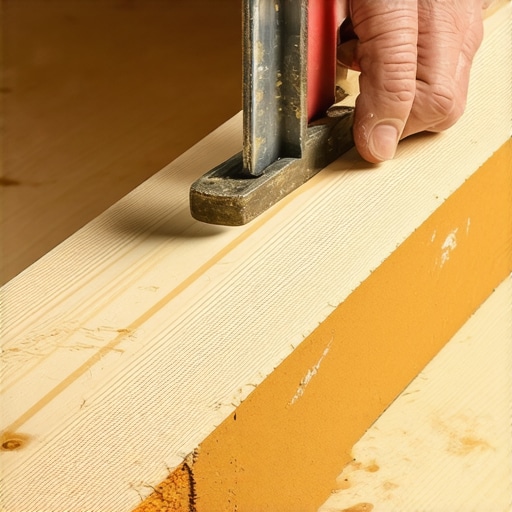
Spread a high-quality wood glue along the contact surfaces of the tread, the riser, and the stringer. Press the tread firmly back into position, ensuring the shims are snug but not forcing the wood beyond its natural shape. Clamp the tread if possible, to allow the glue to cure thoroughly, resulting in a bond similar to fresh woodworking projects.
Secure the Tread and Finish
Reinstall any removed nails or screws to hold the tread in place during the glue’s drying period. Once the adhesive has set—typically after 24 hours—fill any small gaps or screw holes with wood filler matching your stair color. Sand smooth once dry, and touch up with matching stain or finish as needed.
This step-by-step approach saved me hours and significant expense. Instead of dismantling the entire staircase, I focused on stabilizing the individual issue, much like repairing a single loose tile rather than replacing the whole floor. For more professional insights, check out Transform Your Home With Elegant Tile Designs. If doubts creep in, consulting a professional via Contact Us can provide personalized guidance.
Many homeowners believe that mastering tile installation or floor leveling is straightforward, leading to costly mistakes and compromised results. One prevalent misconception is that using any thinset mortar suffices for all tile types; in reality, selecting the appropriate thinset—modified or unmodified—greatly impacts adhesion and durability, especially with large-format tiles or underfloor heating systems. Experts advise consulting manufacturer data, as outlined in The difference between modified and unmodified thinset, to avoid premature failures.
Another nuance often overlooked is the importance of substrate preparation. Many assume that a clean surface is enough, but subtle issues like moisture vapor or minor surface irregularities can cause tiles to peel or crack over time. This is why professionals employ moisture meters and precise surface testing before proceeding, as detailed in Precise floor leveling techniques. Failing to do so can result in expensive repairs or complete reinstallation.
How can advanced understanding of substrate chemistry prevent tile failure?
Understanding the chemical interactions between adhesives, sealers, and substrates ensures long-lasting bonds. For instance, using a non-compatible primer may hinder thinset adhesion, especially on problematic surfaces like marble or old vinyl. Experts recommend thorough cleaning, appropriate priming, and compatibility checks—procedures supported by research from the Tile Council of North America, which emphasizes substrate preparation for longevity. Avoiding these pitfalls can save you hundreds and maintain your home’s aesthetic integrity. Want to improve your skills? Review repair techniques for damaged flooring or reach out through Contact Us for professional guidance. Have you ever fallen into this trap? Let me know in the comments.Maintaining the quality and longevity of your flooring installation requires the right tools, proper technique, and a little know-how. I recommend investing in a high-quality laser level such as the Bosch GSL2 Professional Cross-Line Laser because it provides pinpoint accuracy and is easy to operate, which is essential when verifying floor flatness before tile installation. For mixing large batches of floor leveling compound, nothing beats a 5-gallon mud mixer. It ensures thorough mixing and consistent consistency, which directly translates to a flatter surface and fewer issues down the line. Personally, I always use a moisture meter like the Wagner MMC220 because controlling moisture levels in slabs prevents tile cracking and grout failure over time. Did you know that subtle moisture inconsistencies can cause significant problems? Consulting detailed methods like those found in precise floor-leveling techniques can uniquely position you for success. As tile trends evolve, so do the tools and methods for achieving flawless results; digital laser levels and smart moisture meters are becoming standard for professionals and DIYers alike. To keep your project progressing smoothly, I encourage you to try using a laser level to verify substrate plane before laying out tiles—it’s a game-changer for minimizing uneven spots and ensuring long-lasting results. How do I maintain my flooring setup over time? Regular calibration of your tools, keeping up with manufacturer updates, and cleaning equipment after each project help preserve accuracy and extend tool lifespan. Remember, doing things right at the start—using the right tools and techniques—saves you from costly repairs later. For ongoing guidance, don’t hesitate to reach out through our contact page. Keeping your tools in tip-top shape and adhering to proven methods will make your next flooring project a success, time after time.
What I Wish I Knew When Fixing Loose Treads
- Patience is Key: Taking the time to carefully inspect and pry up each tread prevents further damage and ensures a solid fix. Rushing only leads to loose parts or surface cracks that could have been avoided.
- Proper Tools Save Time: Investing in a quality pry bar, drill, and shims makes the work smoother and more precise. Using the right equipment transforms what seems daunting into a manageable task.
- Understanding Wood Behavior Matters: Recognizing how wood expands and contracts with humidity guides me to choose the right fasteners and shims, ensuring lasting stability.
- Adhesives Are Your Allies: Applying high-quality wood glue along contact surfaces creates a bond that mimics the original strength, making the fix durable and reliable.
- Small Adjustments Make a Big Difference: Inserting thin shims and tightening fasteners precisely snug the tread without warping or creating new gaps, restoring both safety and aesthetics.
My Go-To Resources for Better Flooring Repairs
- How to Achieve Flawless Floor Leveling — This detailed guide has been invaluable in understanding substrate prep, ensuring my repairs last longer.
- Mastering Floor Leveling Secrets — Offers professional tips that elevate my DIY game, especially with tricky surfaces.
- Mistakes To Avoid for Lasting Results — Prevents common pitfalls that might undermine even the best repair efforts.
- Elegant Tile Designs — Inspires aesthetic choices to seamlessly upgrade my staircase, making repairs blend beautifully with the overall decor.
It’s Your Moment to Bring New Confidence to Your Home
Every repair, big or small, is an opportunity to learn and improve. Fixing my staircase taught me that patience, the right tools, and a willingness to learn transform what feels overwhelming into a rewarding experience. Don’t hesitate to tackle those wobbling treads—arming yourself with knowledge and practical tips makes all the difference. Remember, impeccable flooring or staircase safety isn’t just for contractors; with the right mindset, you can achieve amazing results. Ready to take on your next project? Share your stories below or ask questions—I love hearing about your DIY adventures.