
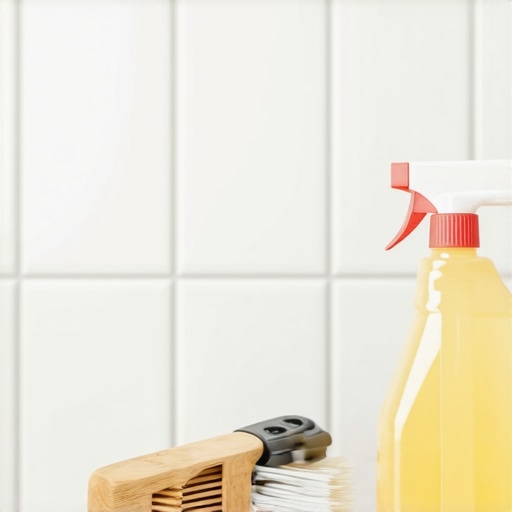
It was a frustrating Saturday morning when I finally decided to tackle the grout lines in my bathroom. As I scrubbed away, I realized the truth—every cleaning session seemed to dull my sealer just a little more. That sharp, clean look I loved was fading, replaced by dull, stained grout that no amount of scrubbing could fix. I had made the classic mistake early on: using harsh chemicals that seemed effective but secretly damaged my beloved sealer. If you’ve ever been there, you know the sinking feeling of watching your pristine grout become dull and grimy over time.
Why Grout Cleaning Can Feel Like a Losing Battle
Cleaning grout lines without stripping the sealer might sound like an impossible task, but it’s entirely doable with the right approach. The key is understanding what makes grout so susceptible to damage and how to fight back with safe, effective techniques. I’ll share my tips — some based on personal trial and error, and others from industry-approved methods — so you can keep your tile looking fresh and your sealer intact.
Is Your Grout Cleaning Routine Harming Your Sealer?
I remember rushing into the renovation thinking any cleaner would do. My early mistake was grabbing a basic bleach-based product, assuming its power would banish stains. Instead, I learned that strong chemicals can eat away at your grout’s protective layer, making it more porous and prone to future staining. Since then, I’ve shifted to gentle, tried-and-true techniques that preserve the integrity of my sealer. This experience taught me an important lesson: not all cleaning methods are equal, especially when it comes to longevity.
According to research from the Tile Council of North America, the wrong cleaning agents not only degrade grout but also compromise sealers, leading to increased maintenance costs in the long run. So, if you’re tired of reapplying sealer every year, it might be worth re-evaluating your cleaning habits.
So, are you ready to discover how to keep your grout sparkling without stripping the sealer? Let’s dive into the practical steps that changed my cleaning routine and can do the same for yours.
Select Gentle Cleaners That Preserve Sealant
During my troubleshooting, I discovered that using pH-neutral cleaners drastically reduces the risk of damaging the sealer. Instead of harsh chemicals, opt for mild solutions mixed with water. Apply the cleaner with a soft sponge or microfiber cloth, gently dabbing onto the grout, avoiding excessive scrubbing that can erode the sealant. Once cleaned, rinse with plain water and dry thoroughly to prevent residue build-up, which can dull the shine over time.
Use Soft Tools and Techniques for Scrubbing
When tackling stains or grime, I avoided abrasive brushes or steel wool, which are magnets for stripping sealant. Instead, I used a soft-bristled toothbrush or a non-abrasive scrubbing pad, moving in circular motions. I remember a specific Saturday where I gently scrubbed stubborn grout stains with a toothbrush dipped in my mild cleaner. The result was a noticeably cleaner grout line without any loss of shine or sealer integrity. This simple change made all the difference in maintaining my grout’s pristine look.
Embrace Natural, DIY Cleaning Solutions
For a cost-effective alternative, I mixed baking soda and water into a paste, letting it sit on tough stains before gently scrubbing. This method is less aggressive than commercial harsh cleaners and reduces the risk of sealer damage. Additionally, vinegar diluted with water worked well for bio-based stains, but I remained cautious—never letting vinegar sit for too long to avoid etching the grout. Regular maintenance with these natural solutions keeps the grout and sealer in top condition without the need for repainting or re-applying sealer.
Protecting Sealer During Routine Maintenance
To keep my grout sealed and shiny longer, I established a routine: weekly gentle cleaning and immediately addressing spills to prevent staining. During my periodic deep clean, I soaked a microfiber cloth in my gentle cleaner and carefully wiped the grout lines. I also avoided high-pressure steam cleaners, as the intense heat and moisture can weaken or strip the sealer over time. By sticking to these careful techniques, I preserved my grout’s appearance for years.
Periodic Re-Sealing to Fortify Your Grout
Even with cautious cleaning, sealers can wear down. I schedule re-sealing every 12-18 months, depending on usage and cleaning frequency. Before applying new sealer, I ensure the surface is thoroughly cleaned and completely dry. My method involves light sanding with a fine-grit pad to open the pores, followed by application of a high-quality penetrating sealer, which I spread evenly with a brush or roller. This step prevents future damage and makes cleaning easier.
Avoid Common Mistakes That Damage Sealant
I learned through trial and error that scrubbing vigorously, using bleach or acidic cleaners, and relying on abrasive tools accelerate sealant loss. Instead, always choose gentle, pH-balanced solutions and soft tools. Remember, patience and careful technique go a long way in maintaining your grout’s shine and sealing integrity.
Many homeowners believe that flooring installation is straightforward, but in reality, there are nuanced pitfalls that can compromise your project’s success. One widespread myth is that leveling the subfloor isn’t crucial, leading many to skip proper prep, resulting in uneven surfaces and tile lippage. For instance, neglecting thorough floor leveling can cause tiles to crack or pop up over time, which can be avoided by mastering precise leveling techniques. An advanced mistake people make is assuming that all self-leveling compounds perform equally; however, choosing the wrong product can cause peeling or cracking, especially if the substrate isn’t properly prepared. Experts suggest testing the surface with a magnet test to locate hidden screws and ensure a flat base before pouring leveler. Additionally, many overlook the importance of controlling for ambient conditions—humidity and temperature—which directly affect curing and adhesion, impacting long-term durability. Not recognizing the significant impact of these details can lead to costly corrections down the line. Have you ever fallen into this trap? Let me know in the comments. Remember, adherence to proper installation techniques not only ensures a flawless finish but also prolongs the lifespan of your flooring, saving you time and money in the long run.Maintaining beautiful hardwood and tile floors over the years requires more than just good cleaning habits; it hinges on having the right tools and understanding their application. My go-to equipment has evolved through trial and error, but a few essentials consistently ensure quality results and prevent costly mistakes. One of my favorite investments is a high-grade moisture meter, such as the Tramex CME5, which helps monitor moisture levels in subfloors before installation or re-sealing. Proper moisture management is critical; according to industry standards detailed in [DIY Flooring Installations](https://tiletrendshop.com/step-by-step-guide-to-flooring-installation-and-leveling-success), even minor excess can lead to tile cracking or hardwood warping over time.
The Hardest Lesson I Learned About Flooring Maintenance
One standout realization was that patience is paramount; rushing through cleaning or re-sealing often causes more harm than good. I discovered that frequent, gentle care beats sporadic aggressive scrubbing, saving time and money in the long term.
Another lightbulb moment was understanding that not all sealers are created equal. Investing in high-quality penetrating sealers and applying them correctly has dramatically extended the life of my grout and protected my floors from staining and wear.
Finally, I learned that regular education matters. Staying updated with industry tips, like those shared in trusted guides, ensures you’re not falling for myths that can compromise your flooring’s longevity.