
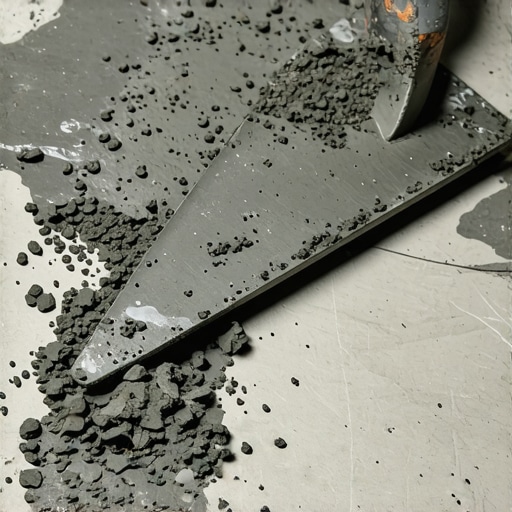
I remember kneeling on a dusty kitchen floor back in 2012, sweating through my shirt, feeling like an absolute pro because I’d just bought a shiny new $15 trowel. I spread the thinset, dropped a heavy porcelain tile into place, and gave it a confident thwack with my rubber mallet. Five minutes later, curiosity got the better of me. I popped that tile up just to check my work, and my heart sank. There were barely any ridges touching the back of the tile; it looked like I’d tried to glue a brick with a toothpick. That was the moment I realized those little metal teeth I’d ignored were actually sabotaging my entire project. If you have ever wondered why your porcelain tiles are cracking or popping up months later, the culprit is likely staring you in the face from the bottom of your tool bucket. [image1]
The Day I Realized My Trowel Was a Liar
I spent years thinking that a notch was just a notch. I made the classic mistake of using a small 1/4-inch square notch trowel for 12×24 tiles because it was the only one I had in the truck. It felt easier to spread, but ease is usually the enemy of excellence when installing tiles like a pro. When you use teeth that are too small, you aren’t leaving enough mortar to collapse and create a solid bond. You end up with hollow spots that sound like a drum when you walk on them. Today, I’m going to show you how to match your trowel to your tile so you never have to worry about a failure again. Have you ever pulled up a tile only to find it bone-dry on the back? Let me know in the comments if you’ve shared that frustration.
Is it really worth obsessing over a few millimeters of metal?
Skepticism is healthy, but the physics of thinset don’t lie. Many DIYers assume the weight of the tile will just squeeze the mud into place, but without the right ridge height, you never get the necessary “collapse” for full contact. According to the Tile Council of North America (TCNA) handbook, interior dry areas require 80% mortar coverage, while wet areas or exteriors need a massive 95% to prevent water pooling and structural failure. This isn’t just about being picky; it’s about making sure your hard work doesn’t literally come unglued.
Stop Gambling with Your Thinset Coverage
Before you even mix your first bag of mortar, you have to look at the substrate. Even the best trowel can’t save you if you haven’t taken tile installation pointers seriously regarding subfloor prep. You should always how to check for subfloor flex because a bouncy floor combined with poor trowel choice is a recipe for a 7.0 magnitude earthquake in your kitchen. I once saw a beautiful marble floor ruined in six months because the installer used a V-notch trowel meant for wall tile on a floor. It looked great for the first week, but the first time a heavy refrigerator rolled over it, those tiles snapped like crackers. Getting this right means understanding that the trowel is a metering tool, not just a spreader.To get that perfect bond, you need to think of thinset like a series of mountain ridges. If you swirl your trowel like you’re frosting a cake, you’re trapping air in little pockets. When you press the tile down, those air pockets have nowhere to go. Instead, you want to comb the mortar in straight lines. This allows the air to escape as the ridges collapse under the weight of the tile. I learned this the hard way on a tiny laundry room project where I was rushing and did those ‘decorative’ swirls because it felt faster. A month later, the grout started cracking. When I popped a tile out of curiosity, I saw a map of air bubbles instead of a solid bed of mortar. It was a total mess, and it taught me that 7 signs your tile contractor is cutting corners on prep work almost always start with poor troweling technique. Before you even touch a trowel, perform the 3-foot level test for checking subfloor flatness like a pro. If you find dips deeper than 1/8 inch over ten feet, you’re going to need more than just a big trowel; you’ll need to spend some time mastering floor leveling pro secrets for perfect installations.
Square vs. U-Notch: Which One Actually Holds Up?
Square notches are industry standards, but U-notches are often more forgiving for beginners and pros alike. Because the ridges are rounded, they collapse more easily and with less physical effort. Think of it like squishing a marshmallow versus squishing a sugar cube; the marshmallow spreads out smoothly to fill the gaps. When you are installing tiles like a pro, that smooth collapse is what prevents the hollow ‘thump’ sound when you walk across the room. 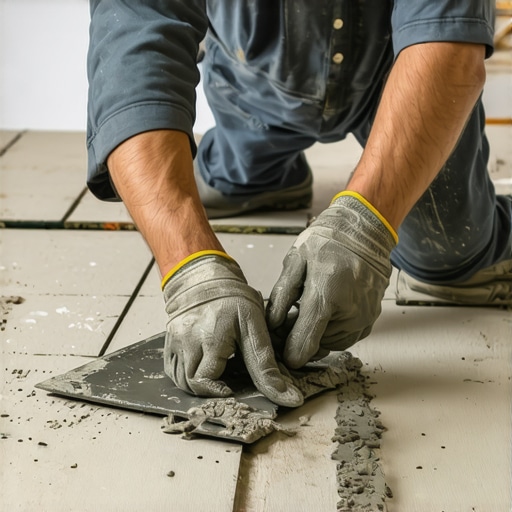
Back-Buttering is Non-Negotiable
Even if you are using a massive 1/2-inch trowel, you should still back-butter every single tile. This means spreading a paper-thin layer of thinset onto the back of the tile with the flat side of your trowel before setting it into the ridges on the floor. It is like putting glue on both sides of a broken vase before joining them. This ensures that the wet ridges on the substrate have something to grab onto immediately, creating a chemical and mechanical bond that will last decades.
Pull Up a Tile to Prove You’re Doing it Right
Every ten tiles or so, you need to be brave enough to pull one back up. It feels counter-intuitive to undo your progress, but it is the only way to verify your work. If you do not see 80% to 95% mortar coverage on the back of that tile, you need to stop and move to a larger notch size. This is also a good time to ensure your mortar consistency is correct. If it’s too dry, the ridges won’t collapse, and if it’s too wet, the tile will slump. Getting this right is just as important as knowing the difference between sanded and unsanded grout for tile projects when you finally reach the finishing stage.Even with the perfect trowel and impeccable back-buttering technique, your project is doomed if the substrate isn’t behaving. Let’s dig deeper into the ‘self-leveling’ myth. Most DIYers—and even some seasoned pros—treat self-leveling compound as a ‘pour-and-forget’ solution. I used to think the same until I watched a 500-square-foot pour turn into a topographical map of the Andes. The hard truth is that self-leveler is actually ‘self-smoothing,’ not self-leveling. It requires physical help to reach the corners and maintain a uniform depth. If you don’t actively manage the flow, you’ll end up with high spots that are harder to fix than the original dips. This is where precise floor leveling techniques to achieve flawless surfaces become the difference between a floor that lasts and one that fails within a year. 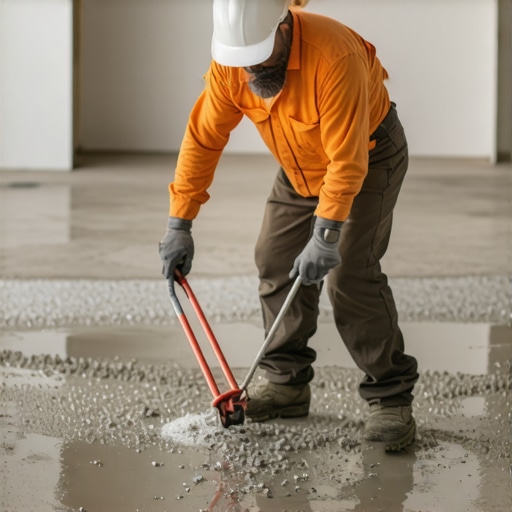
The Primer Trap That Ruins High-End Installs
If you’ve ever seen leveler peel up in giant, brittle sheets, you’ve witnessed a priming failure. People often skip the primer or use a generic ‘all-purpose’ sealer, but this is a massive mistake. Concrete is a sponge; if it isn’t sealed properly before the pour, it will suck the moisture out of your leveler so fast that the chemical bond never actually forms. This results in ‘outgassing,’ which leaves your floor covered in tiny pinholes that look like a sea of miniature volcanoes. According to the National Wood Flooring Association (NWFA), substrate preparation is the single most common point of failure in luxury flooring. If you are struggling with a porous slab, understanding why your floor primer is making the leveler bubbling worse is essential to avoiding a total tear-out.
Why does your moisture test matter more than the adhesive?
You might have the most expensive thinset or hardwood glue on the planet, but moisture is the ultimate ‘bond-breaker.’ Many installers assume that because a concrete slab looks dry on the surface, it’s ready for a floor. However, hydrostatic pressure can push moisture up through the slab over time, turning your glue into a gooey, yellow mess. This is why you must perform the bucket test to check your concrete slab for excessive moisture before committing to a permanent install. I once ignored a slight dampness in a basement project, and three months later, the client called because the boards were cupping like taco shells. It was a $4,000 lesson in patience and physics.
The Myth of the ‘Magic’ Thicker Mortar Bed
A common contrarian view I hold is that using more mortar to ‘build up’ a low spot is almost always a bad idea. Beginners often think they can skip mastering floor leveling pro secrets for perfect installations by just using a larger trowel in the dips. The problem? Mortar shrinks as it cures. If one side of a tile has 1/4 inch of thinset and the other has 5/8 inch, the tile will tilt as it dries, creating ‘lippage’ that will catch every toe and vacuum cleaner that passes over it. Instead of trying to fix a lumpy floor with more mud, you should learn how to fix a lumpy concrete subfloor without a grinder by using high-quality patching compounds first. When you finally move to the actual flooring, you’ll find that revamp your home with expert flooring installation tips only works if the foundation is dead flat. Have you ever fallen into the trap of trying to ‘trowel your way out’ of a bad subfloor? Let me know in the comments below.
I don’t care how good your trowel technique is if you’re using a cheap moisture meter from a bargain bin. When I’m serious about how to revamp your home with expert flooring installation tips, I always reach for a high-end pinless meter like the Wagner Orion. It allows me to scan the entire room without poking holes in my expensive planks. Most failures I see happen because someone skipped the moisture test you must do before gluing down wood. If the slab is too wet, no amount of ‘premium’ adhesive will save you from a delamination disaster. Beyond the meter, there are 7 tools you actually need for a professional diy hardwood install, and a high-quality tapping block is at the top of that list. Using a scrap piece of wood as a tapping block is a great way to mushroom the edges of your new floor before you even get to live on it.

The maintenance secrets your flooring salesman won’t tell you
Once the floor is down and the dust has settled, the real work of preservation begins. I always tell my clients that hardwood floor care secrets to longevity and shine aren’t found in a chemical spray bottle. They are found in your cleaning habits. After a big project, you need to know how to clean hardwood floors after a major renovation without grinding the remaining drywall dust into the finish. I’ve seen homeowners ruin a $10,000 floor in a single afternoon because they thought a steam cleaner was ‘sanitary.’ In reality, you should learn why you should never use a steam mop on engineered wood floors because the forced vapor can delaminate the layers of the wood almost instantly.
How do I protect my investment from daily wear and tear?
It comes down to chemistry and pH balance. For instance, the vinegar mistake why it destroys your tile grout is a lesson many learn too late; the acid eats away at the cementitious bond, leading to crumbling lines within years. Looking forward, I predict we will see a massive shift toward ‘smart’ underlayments with embedded sensors that can alert your smartphone if a pipe leak occurs under your kitchen tiles. For now, the best thing you can do is stick to the technical fundamentals. The National Wood Flooring Association (NWFA) Technical Manual Section C100 explicitly warns that maintaining a consistent indoor climate between 30% and 50% humidity is non-negotiable for plank stability. My best advice? Perform the flashlight test for checking floor flatness before glue on your current subfloor to catch the dips that even a level won’t reveal.
Hard-Won Lessons from the Edge of a Kneeling Pad
Over a decade of kneeling on subfloors has taught me that the biggest mistakes happen when you think you can ‘eyeball’ it. Here are the lightbulb moments that changed my career. First, never underestimate the power of the ‘thump’ test. If a tile sounds hollow, it is a ticking time bomb, and usually, the cause was a lack of back-buttering. Second, the subfloor is your destiny. If you ignore how to fix a sloping floor in an old house, no amount of expensive tile will look straight. Third, precision in small spaces is harder than in big ones. I always advise beginners to study the best way to layout tile in a small bathroom for a larger look because those tiny slivers of tile at the edge are the hallmark of an amateur. Finally, trust the physics of air escape; those straight trowel lines aren’t just for show—they are the only thing keeping your floor from popping up.
The Gear That Actually Saved My Back and Reputation
I have a rule: if a tool saves me more time than it costs, it stays in the truck. For anyone serious about avoiding flooring installation mistakes to avoid for lasting results, I recommend investing in these three essentials. First, a Wagner Orion moisture meter; it is the only way to be 100% sure you are ready for the moisture test you must do before gluing down wood. Second, the Sigma manual tile cutter—it provides cleaner breaks than any cheap wet saw for standard porcelain. Lastly, keep a copy of the TCNA Handbook nearby. It is the industry bible that explains why specific notch sizes exist, helping you follow a step-by-step guide to flooring installation and leveling success without the guesswork.
Take the First Step Toward a Flawless Floor
The transition from a DIYer to a pro isn’t about how fast you work; it’s about the patience you show during the prep phase. Every minute you spend checking for flex or testing for moisture is an hour you won’t spend tearing out a failed floor next year. Your flooring installation is a legacy you leave in your home, so take the time to do it right the first time. You have the knowledge and the techniques—now it’s time to get your hands dirty. What was the most frustrating ‘hidden’ subfloor issue you’ve ever uncovered during a project? Let me know in the comments below!