
I remember the morning I walked into my kitchen and felt that sickening, cold squish under my socks. It wasn’t just a small spill from a glass of water. My kid had left the fridge door slightly ajar, and the ice maker had decided to stage a slow-motion coup overnight, sending a steady trickle across the floor. There it was—my brand-new, beautiful ‘waterproof’ laminate, bubbling at the seams like a forgotten science project. I had spent weeks reading every ‘waterproof’ claim on the box, truly believing I was safe from this exact disaster. I was wrong. I fell for the marketing, a classic mistake I see neighbors and clients make far too often because we want to believe the hype. We want the warmth of wood with the invincibility of a pool liner. Today, I’m pulling back the curtain on those labels to show you what the manufacturers aren’t telling you—so you don’t end up with a ruined kitchen and a lighter wallet.
Marketing Buzzwords Won’t Save Your Subfloor
[image_placeholder] The reality is that ‘waterproof’ in the laminate industry usually refers to the top wear layer, not the entire plank. Most of these floors are built on a core of high-density fiberboard (HDF), which is basically compressed wood fibers and resin. According to the North American Laminate Flooring Association (NALFA), while the surface is non-porous, the tongue-and-groove joints remain the Achilles’ heel of the system. I learned this the hard way during an early DIY project where I rushed the flooring installation. I ignored the moisture test you must do before gluing down wood or clicking planks together, assuming the ‘waterproof’ tag was a magic shield. It wasn’t. When water finds a way into those seams, the HDF drinks it up like a thirsty sponge and expands. Once it swells, it never goes back to its original shape.
Is waterproof laminate actually a total lie?
It isn’t a total fabrication, but it is a massive exaggeration that relies on specific conditions. Usually, these ratings mean the floor can withstand standing water for a set window—maybe 24 or 48 hours—before the core starts to fail. But real life doesn’t happen in a controlled lab. What if a dishwasher leak starts while you’re on vacation? Or what if your subfloor patching compound is cracking and allowing vapor to seep up from the crawlspace? That sticker on the box doesn’t account for the structural shifts of your home or the hydrostatic pressure from below. To truly protect your investment, you need to look beyond the marketing and focus on things like a perimeter expansion gap for every room and proper sealing techniques. I’ve seen many folks get overconfident and use steam mops on these floors, which is a disaster because heat forces moisture deeper into the joints. Have you ever had a ‘waterproof’ floor fail on you during a minor household accident? I’d love to hear your stories. We’re about to dive into the technical reasons why these floors fail and how you can actually prepare for the inevitable spill.To keep your HDF core from becoming a science experiment, you have to treat the installation like you’re building a hull, not just laying decorative planks. It starts with the click-lock system itself. If there’s even a hair-width gap between your planks, gravity will pull any spilled juice or dog-bowl splash straight into the thirsty core. This is exactly why you should always use a tapping block with vinyl or laminate during the assembly. I once watched a buddy try to ‘finger-snap’ his planks into place because he was worried about damaging the delicate tongues with a hammer. By the time the humidity shifted two months later, those boards had moved just enough to create tiny canyons that sucked up mop water. Use the block and a dead-blow mallet to ensure the tongue is fully seated; it’s the only way the manufacturer’s ‘waterproof’ seal actually engages correctly.
Stop the Trampoline Effect Before It Breaks Your Floor
Think of your laminate floor like a sheet of glass. If you lay it over a rock and step on it, it snaps. While laminate is flexible, that movement is its greatest weakness. If your subfloor has a ‘hump’ or a ‘dip,’ every step you take creates a vertical deflection that professionals call the ‘trampoline effect.’ This constant bouncing grinds the locking mechanisms against each other like sandpaper until they eventually snap or lose their grip. Once that mechanical bond is compromised, the ‘waterproof’ surface is essentially useless. Before you even open a box of flooring, you must perform the 3-foot level test for checking subfloor flatness like a pro. I remember a laundry room project where I ignored a slight 1/4-inch dip near the drain. Three months in, the joints were already squeaking and separating, allowing soap suds to seep into the fiberboard. I had to rip the whole thing up to level a plywood subfloor with shims and plywood scraps. It was a miserable weekend of rework that could have been avoided with twenty minutes of prep.
The Silicone Gasket Trick for Wet Areas
The most common failure point isn’t the middle of your kitchen; it’s the perimeter. Water is lazy; it runs toward the walls and hides under the baseboards. This is why the why you need a perimeter expansion gap for every room is a double-edged sword. You need the gap for the floor to breathe, but that gap is an open door for moisture. In high-risk zones, you need to fill that expansion gap with 100% silicone caulk before you install your baseboards. This creates a flexible, waterproof gasket that allows the floor to expand and contract while keeping spills on the surface. Furthermore, if you’re installing over concrete, never skip the bucket test how to check your concrete slab for excessive moisture. If vapor is pushing up from the bottom, it doesn’t matter how well you’ve sealed the top; the floor will eventually rot from the inside out.Wait, I know what you are thinking: ‘If I just dump enough self-leveler on it, it is fixed, right?’ Wrong. In fact, one of the biggest myths I encounter in the field is the obsession with a ‘level’ floor. You can have a floor that is perfectly level—meaning it follows the horizon—but is still as wavy as the Atlantic Ocean. For floating floors like laminate or even high-end hardwood, ‘flatness’ beats ‘level’ every single time. If your subfloor isn’t flat within 3/16th of an inch over a 10-foot span, which is the rigorous standard set by the National Wood Flooring Association (NWFA), your planks will eventually separate. I have seen homeowners spend thousands on precise floor leveling techniques to achieve flawless surfaces only to ignore the micro-undulations that cause that annoying ‘click-clack’ sound when you walk. 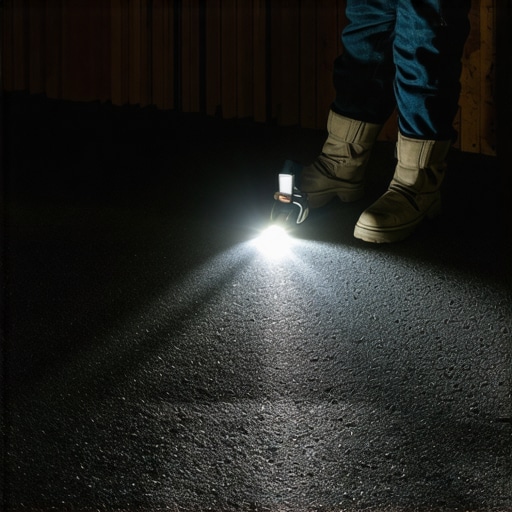
Does a perfectly flat floor actually exist in old homes?
In short: no, but you can get remarkably close if you stop relying on your eyes and start using a laser. The common trap is assuming that because the subfloor is new plywood, it must be flat. Plywood bows, joists crown, and houses settle. Before you lay a single board, you should perform the flashlight test for checking floor flatness before glue or click-locking. By placing a powerful beam across the floor, you will see shadows in every dip and ‘hot spots’ on every hump. Ignoring these is one of the most common flooring installation mistakes to avoid for lasting results. If you skip this, the vertical movement will eventually snap the tongues off your ‘waterproof’ laminate, rendering the whole system useless.
Why your leveler is only as good as the primer beneath it
The real ‘oops’ factor comes when people get impatient with the chemistry of the subfloor. I have seen many professionals skip the primer because the concrete ‘looked clean.’ This is a disaster waiting to happen. Without the right primer, the porous concrete will suck the moisture out of your self-leveling compound too quickly, leading to spider-web cracks and poor adhesion. Understanding why your leveling primer is peeling off the concrete is essential; it is usually due to ‘laitance’ or a dusty surface that prevents a mechanical bond. If you do not grind off old paint or adhesive residues, your leveler is basically a floating sheet of brittle crackers. This nuance is why some floors last forty years while others fail in four months. Have you ever fallen into this trap and had to rip up a floor you just installed? Let me know in the comments.Once the dust settles and you finally stand on your new surface, the real work of preservation begins. I’ve seen gorgeous projects turn into costly repairs within eighteen months simply because the owner didn’t respect the physics of wood or the chemistry of grout. If you want to avoid being the person who has to repair a loose hardwood plank without tearing up the row, you need to transition from ‘installer’ to ‘steward.’ This starts with having the right gear. I never step onto a job site without a high-quality pinless moisture meter. Most DIYers think their eyes are enough, but a meter tells you the truth about what’s happening deep inside the HDF or plywood. It is my first line of defense against the seasonal shifts that cause gapping.
Grab a Pro-Grade Undercut Saw for Truly Seamless Edges
One of the biggest tell-tale signs of an amateur job is chunky, poorly fitted transitions around door casings. I personally swear by a dedicated power undercut saw rather than just a hand saw or a multi-tool. It allows you to slice through the bottom of the jamb at the exact height of your new floor, ensuring the plank slides underneath for a factory-perfect look. This is the right way to undercut baseboards for a clean flooring finish that won’t require ugly blobs of caulk later. If you are handling a mixed-media project, you should also look into 7 tools you actually need for a professional diy hardwood install to ensure you aren’t missing the small stuff, like a pneumatic palm nailer for those tight corners where a full-sized floor stapler won’t fit. 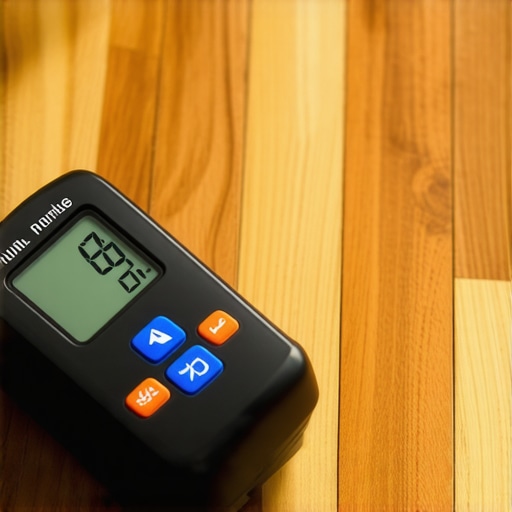
How do I maintain these floors over the long haul?
Longevity isn’t about scrubbing; it’s about control. The single most important factor is maintaining a consistent relative humidity between 30% and 50%. According to the NWFA Technical Publication C100, a moisture content differential of more than 4% between your subfloor and your hardwood is a recipe for cupping and crowning. This is why I tell everyone that a whole-house humidifier is just as important as the flooring itself. When it comes to cleaning, please, put the steam mop back in the closet. I’ve seen steam turn the edges of a high-end floor into oatmeal in less than a year. Instead, stick to hardwood floor care secrets to longevity and shine that focus on pH-neutral cleaners and microfiber pads. For those with ‘waterproof’ laminate or engineered wood, remember that why you should never use a steam mop on engineered wood floors is because the heat delaminates the glues holding the layers together. Looking ahead, I predict we will soon see ‘smart subfloors’ with embedded moisture sensors that alert your phone if a leak starts under the dishwasher. Until then, you are the sensor. My best advice? Go buy a $30 digital hygrometer today and place it in the room where you just laid your new floor. Monitoring the air is the most advanced maintenance tip I can give you.
Hard Lessons from the Front Lines of Flooring Failures
Over the years, I’ve realized that the ‘waterproof’ label is often a safety net made of tissue paper if you don’t respect the physics of your home. One of my biggest lightbulb moments was realizing that flatness is non-negotiable; if the subfloor isn’t perfect, the most expensive plank in the world will eventually fail. I also learned that patience during the acclimation phase is more important than meeting a weekend deadline. If those planks aren’t used to your home’s humidity, they will fight you every step of the way. Lastly, I stopped trusting my eyes—now I trust my level and my moisture meter implicitly.
[image_placeholder_final]
Tools That Actually Prevent Call-Backs
If you want to achieve professional results, you have to move beyond the basic hammer and tape measure. I always recommend checking out the ultimate guide to floor leveling for a perfect finish to understand the depth of prep required. My essential kit includes a 6-foot straight edge for identifying dips, a high-quality tapping block to protect those fragile locking joints, and 100% silicone for sealing the wet zones. For a deep dive into the ‘why’ behind these steps, look into flooring installation fundamentals leveling for a seamless look and mastering floor leveling pro secrets for perfect installations. These resources have fundamentally changed how I approach every single room.
How to Build a Floor That Outlasts the Hype
The journey from a bare subfloor to a stunning, durable surface is one of the most rewarding home improvement tasks you can tackle. It requires a shift in mindset—from just ‘laying a floor’ to ‘engineering a system.’ By focusing on the invisible details like moisture control and subfloor integrity, you ensure that your flooring installation remains beautiful for decades, not just until the first spill. For more inspiration, check out revamp your home with expert flooring installation tips. Don’t let the marketing jargon rush you; take the time to do it right, and your home will thank you. Have you ever discovered a surprise under your old flooring that completely changed your installation plan? Let me know in the comments below!