I remember the first time I stepped onto a newly installed hardwood floor only to feel that unsettling bounce and hear a tiny crack beneath my feet. It was like a mini earthquake in my living room, and honestly, I felt a mix of frustration and confusion. Little did I realize, that crack was just the beginning of a series of flooring issues rooted in one common cause: self-leveling underlayment cracking over plywood. This lightbulb moment pushed me to dive deep into the why behind these cracks, especially over plywood subfloors, which are so prevalent in many homes.
Cracks in self-leveling underlayment: Why do they happen over plywood?
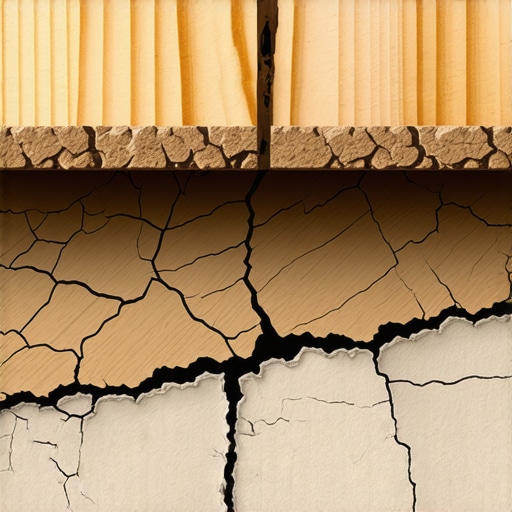
Understanding why underlayment cracks isn’t just academic—it’s essential for anyone aiming for a smooth, durable flooring finish. My early mistake was thinking that all self-leveling compounds are created equal. I applied a typical underlayment over plywood without considering the movement and flexibility needs of that specific subfloor. The result? Cracks. According to flooring experts, the key issue here is that plywood, while sturdy, tends to expand and contract with humidity and temperature changes. When a rigid layer like self-leveling underlayment is poured over a subfloor that moves, cracks often develop, compromising the entire flooring look.
Have you faced the disappointment of cracking underlayment after your installation? If so, you’re not alone. Many homeowners and DIY enthusiasts encounter this problem, often after investing time and money into what seemed like a perfect floor. The good news is, understanding the root causes can help you avoid these pitfalls and achieve a flawless finish.
Is cracking over plywood actually worth the hype?
One of the early mistakes I made was underestimating the importance of proper preparation and using the right materials. I believed that a standard self-leveling compound would do the trick, but that was far from true. Research shows that incompatible materials and neglecting movement joints significantly increase the risk of cracks, leading to expensive repairs down the line. If you’re curious about the best methods to prevent these issues, I recommend checking out our comprehensive guide on [floor leveling challenges and how to avoid them](https://tiletrendshop.com/floor-leveling-challenges-common-mistakes-and-how-to-avoid-them). This resource offers expert tips to ensure your next project stays smooth and crack-free.
Now that I’ve shared my story and the main reasons behind self-leveling crack issues, let’s explore practical solutions. Whether you’re a seasoned pro or a DIY enthusiast, knowing how to prepare and apply underlayment properly can make all the difference. Ready to learn the steps that will help you achieve a perfectly flat, durable surface? Let’s get started.
Preparing the Plywood Subfloor Before Pouring
Begin by inspecting your plywood for moisture, gaps, or movement. Use a moisture meter to ensure it meets the recommended levels (check here for moisture guidelines). Secure loose sheets with T- and B-bonds, using screws rather than nails to prevent movement. Place shims under high spots to ensure a flat surface. When I did my first pour over a slightly uneven patch, I used a straight 2×4 as a guide, and the resulting floor was noticeably smoother afterward. Proper preparation minimizes subfloor movement, which is critical for crack-free leveling.
Applying a Flexible Primer and Bonding Agent
Next, apply a bonding primer designed for plywood (such as a polyurea-based primer). This creates a chemical bond between the plywood and the leveling compound, enhancing flexibility and adherence. I mixed a small batch of primer according to manufacturer instructions, and after brushing it on, I noticed the self-leveling compound flowed more evenly, reducing air bubbles and uneven setting. This step is often overlooked but harbors the key to preventing delamination and cracking over time.
Choosing the Right Self-Leveling Compound with Flexibility
Select a high-quality, polymer-modified, flexible self-leveling compound specifically rated for plywood substrates. This type blends the rigidity needed for a flat surface with enough flexibility to accommodate plywood’s expansion and contraction. While mixing, I used a slow-speed drill with a paddle attachment, following the company’s pouring instructions carefully to avoid introducing bubbles. Remember, the ideal compound helps absorb movement rather than cracks open under it.
Mastering the Pour Technique for a Smooth Surface
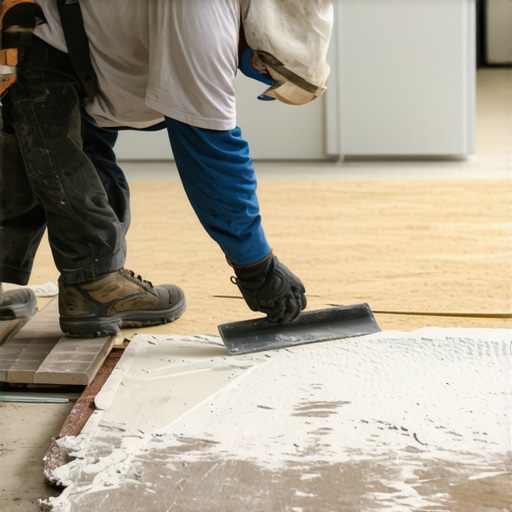
When pouring, start at one corner and work your way across, pouring steadily without stopping to prevent air entrapment. Use a gauge rake or trowel to assist in spreading the compound evenly, especially in edges and corners. During my first attempt, I poured too quickly, resulting in air pockets that caused slight dips. After practicing slow, continuous pours, I achieved a flawlessly level surface. This technique reduces the likelihood of tiny cracks that can develop from uneven settling.
Using Proper Curing Methods for Longevity
Allow the compound to cure naturally at a stable temperature and humidity. Cover with plastic sheeting if you need to prevent rapid moisture loss, which can cause shrinkage cracks. I learned this the hard way—rushing curing by applying a fan caused surface cracking. Patience and correct curing conditions are essential for a crack-free finish and long-lasting results.
Implementing Expansion Joints and Stress Relief Measures
Lastly, incorporate expansion joints at strategic intervals over large areas and along edges. These joints act as controlled break points, preventing cracks from propagating across the surface. When I installed a 20-foot-wide floor, I inserted expansion gaps with backer rods at regular intervals, which significantly reduced cracking as the underlayment and underlying wood moved seasonally.