
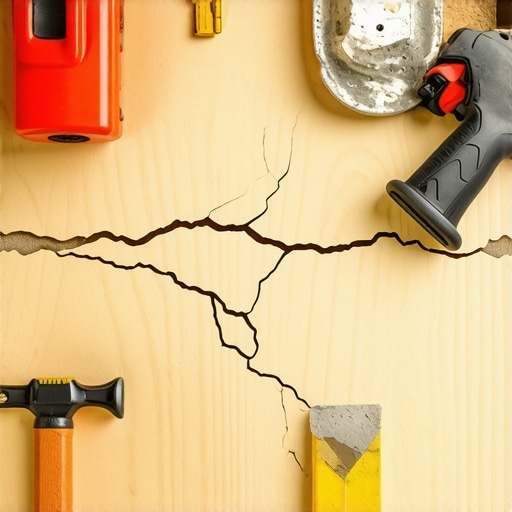
I still remember the frustrating moment when I walked into a client’s home, only to see their brand-new self-leveler cracking apart right over the plywood subfloor. It was like watching a carefully laid puzzle fall to pieces. That lightbulb moment made me realize just how common—and yet preventable—this problem truly is.
If you’ve ever poured a self-leveling compound over plywood, only to find it splitting or cracking days later, you’re not alone. Many DIYers and pros alike face this headache, and the worst part is, it can often be traced back to a simple mistake or overlooked detail. But the good news? With some understanding and correct techniques, you can avoid this messy situation altogether.
Why Self-Levelers Crack Over Plywood: The Real Reasons Behind the Failures
One of the biggest issues I see involves the moisture content of plywood. Many folks skip the crucial step of sealing or priming the plywood before pouring the leveler, leading to trapped moisture that causes the compound to expand and crack as it cures. Plus, plywood’s natural flexibility, especially when not properly supported, creates movement that stresses the leveling layer.
Another often-overlooked factor is surface preparation. If the plywood isn’t thoroughly cleaned and abraded, the self-leveler won’t bond properly. This weak bond turns into cracks as the floor shifts or expands with temperature changes. Also, many underestimate the importance of using a proper substrate primer, which enhances adhesion and compensates for the plywood’s porosity.
Early in my career, I made a costly mistake: I thought just pouring the self-leveler directly onto the plywood would suffice. It wasn’t until I faced repairs a few months later that I realized neglecting proper surface prep and moisture testing was the root cause. Since then, I’ve learned that following a step-by-step protocol, like those outlined in our comprehensive leveling guide, makes all the difference.
Have you faced this cracking issue before? If so, don’t fret—these problems are common, and the solutions are straightforward. Next, let’s dive into how to ensure your subfloor is truly ready to handle that pour, setting you up for a flawless, crack-free finish.
Properly Prepare Your Plywood Subfloor
Start by inspecting your plywood for moisture content using a moisture meter. If readings are above 12%, delay pouring the self-leveler and address moisture issues first. Next, clean the surface thoroughly to remove dust, debris, and grease, which can compromise adhesion. Lightly sand the surface with a sander or manual abrasive pad to roughen the plywood, ensuring better grip for primers and self-leveling compounds.
Apply a high-quality primer specifically formulated for plywood and self-leveling compounds, such as an acrylic or epoxy primer. Pour the primer evenly with a roller, ensuring full coverage, especially in corners and edges. This step seals the plywood surface, reducing moisture transfer and enhancing adhesion. Allow the primer to cure completely, following the manufacturer’s instructions.
Implement Accurate Surface Leveling Techniques
Use a laser level or wet edge trowel to identify low spots and high areas on the plywood. Mark these areas and plan your correction steps. For minor dips, a layer of feather finish or leveling compound applied over the primer can smooth out uneven spots. For larger dips, consider using a gypsum-based self-leveler slurry to create a uniform surface.
When mixing the self-leveler, follow the manufacturer’s instructions precisely, aiming for a pourable yet self-leveling consistency. To prevent air bubbles, pour the mixture slowly and avoid overmixing. For large areas, pour from one side to the other in a continuous motion, guiding the flow with a gauge rake or squeegee to spread the compound evenly. Use a spike roller after pouring to eliminate surface air bubbles that can cause cracks later.