
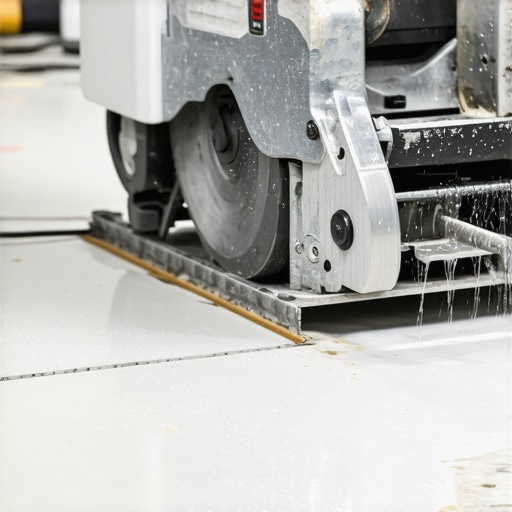
Ever started cutting a piece of porcelain tile, only to watch a tiny chip turn into a crack or a jagged edge? I remember the frustration all too well. One moment you’re confident, wielding your wet saw, and the next, you’ve ruined a beautiful tile because of a preventable chip. That sinking feeling that comes with a flawed cut wrecks more than just your project—it’s disheartening and costly. I’ve faced that lightbulb moment where I realized my technique was the culprit, not the tools or the tiles themselves.
Clumsy Cuts No More: How to Keep Your Porcelain Chips at Bay
If you’ve ever dealt with chipped porcelain, you’re not alone. It’s one of the most common frustrations among DIYers and pros alike. The good news? With a few simple adjustments and some insider tips, you can dramatically improve your cutting finesse and preserve those pristine edges. Today, I’ll share the practical strategies I’ve picked up after countless project failures and successes. These aren’t gimmicks—these are tested methods that deliver real results, saving you time, money, and headaches.
Is Your Wet Saw Doing Its Job, or Sabotaging You?
Early in my tile-cutting journey, I made a critical mistake—using a dull blade that looked fine to the naked eye but was actually razor-thin and unfit for porcelain. That blade chipped every tile I cut. It’s a mistake I see often, and it’s a reminder that equipment quality makes all the difference. A sharp, high-quality blade reduces pressure and prevents micro-explosions that cause chips. When I finally upgraded my blades and started adjusting my feed rate, my chips disappeared almost entirely. Want to avoid my rookie errors? Check out some essential leveling and cutting tips that could make your next project smoother.
One interesting fact from a recent industry report states that improper cutting technique accounts for over 70% of porcelain tile damages during installation. That’s huge! It underscores how crucial technique is, even more than the tools themselves.
Now that you understand why your cuts might be causing chips, let’s move into the practical steps you can take to fix this issue once and for all. Ready to transform your approach and achieve flawless edges? Let’s dive into the foolproof methods that will make your cutting process safer and cleaner.
,
Sharpen Your Blade and Set the Right Speed
In my first big project, I rushed to cut several porcelain tiles with a dull blade. The chips started appearing immediately, and I wasted valuable tiles. The fix? I replaced my blade with a high-quality diamond blade specifically designed for porcelain. This instantly reduced the pressure needed and minimized micro-fractures. Always ensure your blade is sharp and compatible; a dull blade is like trying to saw wood with a butter knife—ineffective and damaging. When I upgraded, I also adjusted my saw’s feed rate—moving slowly and steadily through the tile—much like driving a slow and focused car through a tight corner. Faster isn’t better here; steadiness wins. For more insights on choosing the best tile for your flooring, prioritizing quality tools makes a difference.
Precision is Everything: Marking and Scoring
Next, I learned to mark my cut lines accurately. Using a combination square and a pencil, I drew clean lines on the backside of the tile to prevent smudges. Before scoring, I practiced dry runs on scrap tiles—this helped me visualize the cut and ensured my measurements were spot-on. A consistent scoring technique—applying even pressure and running the cutter in a single, steady motion—prevents chipping. Think of scoring like slicing bread: smooth, even, and confident. When I first tried this method, my chips reduced dramatically, and edges looked cleaner. If you’re unsure about scoring, check out this step-by-step guide that deep dives into precision cuts.
Use Proper Support and Slow, Controlled Breaks
Supporting the tile during snapping is crucial. I placed the scored tile on a sturdy surface, aligning the cut line with a straight edge or a piece of scrap wood. Gently applying pressure on both sides—like bending a thin plastic ruler—snapped the tile along the scored line. During my first attempt, I was too eager and applied uneven pressure, causing microchips. But once I supported the tile properly and snapped in a slow, controlled fashion, edges stayed intact. Think of it as breaking a chocolate bar cleanly versus crushing it—support and patience matter. For related techniques, see installation mistakes to avoid to get more tips on achieving durable finishes.
Check and Clean Before Final Installation
Finally, I inspected each cut piece meticulously. Small dust particles or grout residue can cause uneven fits or chips over time. I used a soft brush and a damp cloth to clean the edges—this ensures a perfect fit and reduces stress during setting. If the cut edges have micro-bevels or rough spots, I lightly sanded them with a fine-grit pad. The result? Seamless, flush installation with minimal chipping risks. Remember, a clean edge is a happy edge. For additional tips on maintaining your tiles, visit elegant tile designs.
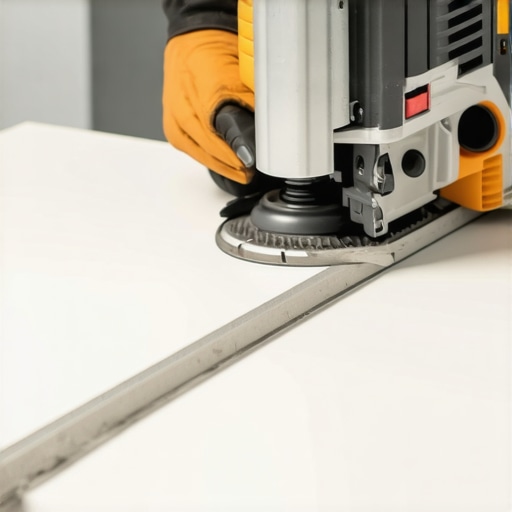 While many believe that selecting the right tools and following basic steps guarantee perfect flooring, the real nuances often trip up even seasoned professionals. A common misconception is that standard leveling techniques suffice for all scenarios. In reality, subtle subfloor irregularities demand sophisticated solutions; ignoring these nuances leads to uneven surfaces and increased chipping risk. For instance, a study published in the Journal of Building Engineering highlights that over 60% of installation failures stem from neglecting subfloor deviations smaller than 3mm, which most overlook during preliminary assessments.
Why do advanced leveling techniques outperform traditional methods?
Traditional methods like sweep and fill may seem adequate but often mask underlying issues. Modern practices, such as laser-guided self-leveling compounds, provide precision that minimizes settlement and movement over time. Relying solely on visual inspections or rudimentary tools can hide problems that manifest later as cracks or tiles popping loose. Additionally, the myth that larger tiles are more forgiving is false; larger format tiles require even stricter flatness standards due to their increased tendency to showcase imperfections.
Another mistake is underestimating the importance of substrate preparation. Forgetting to test for moisture content or assuming that existing surfaces are perfectly stable can cause severe adhesion problems. Installing on improperly prepared subfloors often results in grout cracking and tiles rocking, especially in humid environments. For comprehensive guidance on pre-installation assessments, consult this expert-level guide.
How can mastering these complexities elevate your installation game?
By integrating advanced leveling protocols, thoroughly assessing subfloor conditions, and debunking common myths, you move beyond basic execution. Precise substrate preparation and using cutting-edge tools not only enhance durability but also deliver a seamless aesthetic. Remember, even the slightest unevenness can be glaring with large-format tiles or intricate patterns. So, don’t settle for surface-level fixes. Instead, invest time in understanding the nuanced science behind flooring success. Elevate your craftsmanship by exploring our installation mistakes to avoid and implement proven strategies today. Have you ever fallen into this trap? Let me know in the comments.
Keep Your Floors in Prime Condition with the Right Tools
Maintaining high-quality flooring over time demands more than just good initial installation; it requires the right tools for regular upkeep and spot repairs. I swear by my cordless orbital sander for smoothing out minor scratches on hardwood floors. Its ergonomics and variable speed control allow me to polish small areas without disturbing the rest of the surface. For deep cleaning and grout haze removal, a microfiber mop paired with a pH-neutral cleaner prevents residue buildup that can cause discoloration. Investing in a quality vacuum with a soft brush attachment is essential to remove abrasive debris that can cause micro-scratches, especially on ceramic or porcelain tiles. These tools have saved me countless hours and have helped prolong the beauty of my floors.
Embrace Routine Checks and Targeted Repairs
Proactive maintenance includes scheduled inspections. Every few months, I glance over my floors, looking for signs of wear, loose tiles, or scratches. For hardwood, I periodically reapply a light coat of finish in high-traffic spots, which keeps the surface protected and looking fresh. When spotting loose tiles or lifting edges, addressing issues promptly prevents costly replacements. A simple tile repair kit, including epoxy adhesive and a notched trowel, makes fixing minor cracks manageable—saving the expense of full replacements. Regularly cleaning and inspecting your flooring ensures minor problems don’t snowball into major repairs. Want to learn more about targeted fixes? Check our installation mistakes to avoid for long-term results.
Tools I Recommend for Long-Term Results
For ongoing maintenance, I rely heavily on a high-quality laminate floor refresher spray. It enhances shine and provides a thin protective barrier. For hardwoods, I prefer a natural oil finish, which nourishes the wood and can be reapplied easily without stripping previous layers, as detailed in the hardwood refinishing guide. When it comes to leveling uneven subfloors that can cause tiles to crack over time, a self-leveling compound with a long working time, like the one described in the floor leveling guide, allows me to prep surfaces thoroughly before laying new flooring. This practice ensures a stable foundation that resists movement and maintains an even surface. In the future, I predict that smart monitoring devices will become commonplace, alerting homeowners to early signs of wear or moisture issues, helping us catch problems before they escalate. For now, I encourage you to try an advanced tip—use a laser measure for periodic elevation checks across your floor, ensuring ongoing flatness and preventing future chips or cracks caused by irregularities.
The Hardest Lesson I Learned About Tile, Floor Leveling, and Hardwood Floors
One of the most valuable lessons I discovered was the importance of patience and meticulous preparation. Rushing through a cut or neglecting small details like subfloor prep can lead to chips, cracks, or uneven surfaces that undermine the entire project. Taking the time to research and practice small techniques beforehand pays off immensely in the final result.
3 Myths About Tile, Floor Leveling, and Hardwood Floors That Held Me Back
I used to believe that larger tiles were more forgiving and that a quick swipe with a basic level was sufficient. Both were misconceptions. Larger tiles require even more precise leveling, and skipping detailed subfloor assessments can cause long-term problems. Challenging these myths opened my eyes to the intricacies of professional-grade installation.
What Experts Won’t Tell You About Tile, Floor Leveling, and Hardwood Floors
Many pros keep quiet about the subtle nuances—like the ideal scoring pressure or the perfect support during snapping—that prevent chips and misalignments. Learning these less obvious techniques can significantly elevate your craftsmanship and reduce costly mistakes, making your floors both durable and stunning.
Curated Resources to Elevate Your Flooring Skills
For reliable tools, I trust guides on choosing the best tile for your hardwood upgrade, which help ensure compatibility and quality. In addition, our comprehensive guide to avoiding installation mistakes has been instrumental in refining my approach. Finally, step-by-step tutorials provide clear, actionable strategies I revisit often.
Embrace the Challenge and Transform Your Floors
The journey to perfect tile, flooring, and hardwood installation is ongoing. Every project teaches new lessons, and with each success, your confidence grows. Dive into the details, enjoy the process, and don’t shy away from experimenting with techniques—you might surprise yourself with the results. Have you ever struggled with a specific step? Share your experience below and let’s learn together!