
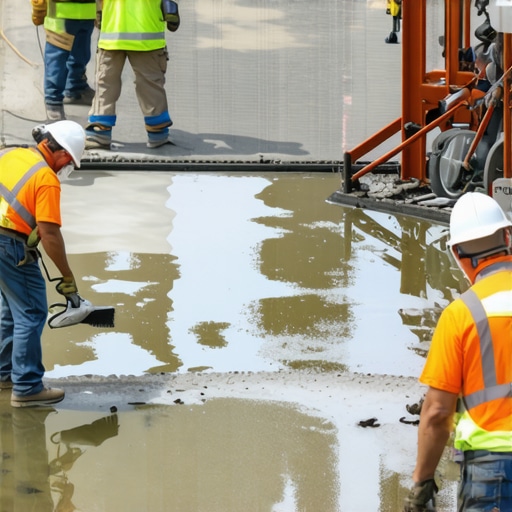
I remember the first time I watched a flooring professional lay down a hardwood floor over a freshly poured concrete slab without any primer. The beautiful, glossy finish was ruined within months by unsightly cracks and warping. It was a lightbulb moment for me—an avoidable mistake that cost time, money, and frustration. Since then, I’ve become a firm believer that the secret to durable, flawless floors lies not just in choosing the right materials but in paying attention to one crucial step: applying a primer before pouring concrete.
The Missing Piece in My Flooring Puzzle
After that first mishap, I dove into the research. Why is it so essential to prime concrete before pouring? It turns out, primer acts as a bridge—helping the leveling compound adhere better to the slab, preventing future issues like cracking or delamination. According to industry experts, skipping this step can significantly compromise the longevity of your flooring investment. And let’s be honest, nobody wants to go through the hassle of redoing the entire floor just because a simple primer was overlooked.
Is Primer Really That Important? My Early Mistake Shows Why It Is
I once thought I could skip primer to save a few bucks, assuming the leveling compound would stick just fine. Big mistake. Not only did I end up with uneven surfaces, but I also faced cracks and bubbling within a year. That costly lesson propelled me to learn about proper surface preparation—especially the critical role of primer. This experience taught me that what might seem like an extra step or a unnecessary expense can actually be the difference between success and disaster in flooring projects. If you’re tired of fixing problems that could have been avoided, keep reading. We’re about to explore how to ensure your concrete slab is ready for that gorgeous hardwood or tile finish without the frustration of avoidable mistakes.
Preparing Your Concrete Slab Effectively
Start by cleaning the surface thoroughly; sweep away dust and debris, then use a damp cloth to remove stubborn dirt. Once dry, inspect for any cracks or holes, and seal them with a concrete patch. To ensure the slab is moisture-free, perform a simple plastic sheet test—cover a small area with plastic for 24 hours; if condensation appears, additional moisture mitigation steps are needed before priming.
Choosing and Applying the Right Primer
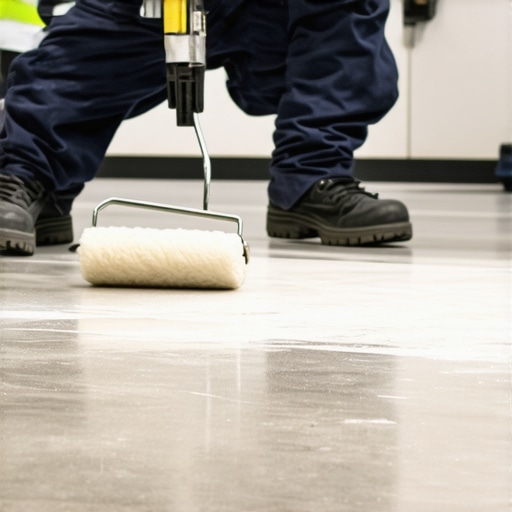
Select a primer compatible with your leveling compound and concrete type, like acrylic or epoxy-based primers. Stir the primer well, then pour it into a roller tray. Use a high-quality roller or brush to spread the primer evenly across the surface, working from one edge to the other. Pay special attention to corners and edges where uneven absorption may occur. Allow the primer to dry as per manufacturer instructions—usually 2 to 4 hours—before proceeding.
Implementing Precise Floor Leveling Techniques
Mix your leveling compound following the manufacturer’s recommended ratio, ensuring a consistency comparable to peanut butter—thick but pourable. Use a rake or notched trowel to spread the compound evenly, starting from the lowest point of the slab and working towards higher spots. Use a laser level to verify uniformity, making adjustments by feathering the compound into areas of slight elevation. For small dips, applying a plywood patch or a thin layer of leveling compound can smooth irregularities before tile installation, avoiding future cracks or heaving.
Securing Quality with Proper Installation Practices
Once the leveling compound is set and fully cured, lay your tiles, hardwood, or laminate according to best practices. Use spacers for consistent gaps, and check alignment frequently with a straightedge or laser line. For large-format tiles, double-check that the substrate remains flat and stable to prevent lippage. Remember, patience during this process pays off—rushing often results in uneven surfaces or future damage. For additional tips on perfect tile laying, visit installation fundamentals.
While many homeowners focus on choosing the right materials or tools, a less obvious yet critical aspect often gets overlooked: the nuances that differentiate a professional finish from an amateur job. One widespread myth is that surface preparation is a mere formality. In reality, neglecting detailed assessment of subfloor conditions can lead to cracks, uneven floors, or tiles popping loose over time. For example, some believe that applying a thin layer of leveling compound without considering substrate moisture content can trap moisture beneath, causing future structural issues. According to industry experts, proper moisture testing and targeted moisture mitigation are paramount to durable flooring.
What Advanced Techniques Do Top Installers Use to Guarantee Longevity?
Skilled professionals rarely rely solely on standard leveling and adhesive application. Instead, they incorporate techniques such as using laser-guided leveling tools to detect subtle dips and high spots with precision beyond the naked eye. Additionally, they prepare substrates by sanding seams or applying curing blankets to stabilize moisture fluctuations. Overlooking such details can cause subtle but cumulative errors, especially in large areas. Additionally, understanding the interaction between flooring types—like hardwood and tile—is vital to prevent issues like differential expansion. For comprehensive insights, see our guide on flawless floor leveling techniques.
Many assume that simply laying a tile or plank and letting it set is sufficient. However, ignoring the importance of installation environment and sequencing can lead to regrets. For instance, installing tile during high humidity months without proper moisture barriers increases the risk of cracking months later. Similarly, rushing the curing process for adhesives or leveling compounds can compromise adhesion strength, leading to costly repairs. Remember, a flawless finish requires meticulous attention to the tiny details and understanding of material behavior, not just the big-picture choices. Want to master these advanced installation nuances? Dive into expert installation tips and elevate your skills.
Have you ever fallen into this trap? Let me know in the comments.
Maintaining the integrity of your flooring over time hinges on the right tools and a proactive approach. One of my personal favorites is the laser level, such as the Bosch GSL 2 Professional Digital Laser Level. Its accuracy—within 0.2 mm over 10 meters—allows me to verify that the slab remains perfectly flat after installation. This ensures that any shifting or settling doesn’t lead to cracks or uneven surfaces down the road, echoing the principles outlined in the comprehensive guide on floor leveling. Besides electronic tools, I depend on high-quality trowels like the Marshalltown Notched Trowel, which provides consistent mortar coverage for tiles and prevents lippage—common in poorly done installations.
How do I maintain hardwood floors over time? The answer lies in diligent cleaning and strategic repairs. I recommend investing in a dust mop with microfiber pads, which traps dirt without scratching the surface. Regularly inspecting for loose boards or squeaks allows for quick fixes before major issues develop, often saving you money and preserving your floor’s beauty. For refinishing or deep cleaning, I prefer expert-approved techniques that extend the lifespan of your hardwood, such as spot sanding and applying a fresh coat of finish after thorough cleaning.The future? Expect smart tools to revolutionize flooring maintenance. Sensors embedded in floors might alert homeowners about moisture or structural shifts in real-time, preventing costly repairs. Additionally, advancements in sustainable materials and eco-friendly sealants will make long-term care more environmentally responsible yet equally effective.
One advanced tip I encourage you to try today is using a magnet trick to locate hidden subfloor screws before sanding or refinishing. It saves time and prevents accidental damage. Regular use of such precise techniques will elevate your flooring maintenance game, giving you peace of mind that your investment remains stunning and durable for years to come. Ready to step up your flooring care? Start by selecting a laser level and see how it transforms your project outcomes.
How I Nearly Wrecked a Floor to Save a Buck
One of the most valuable lessons I learned was the danger of cutting corners—like skipping primer—to save time and money. That shortcut led to cracking and warping, costing me double in repairs. Now, I see that investing a little extra effort upfront, like thorough surface prep, pays dividends in long-term durability.
Tools That Changed My Flooring Game
High-quality laser levels and precision trowels are game-changers. They help me achieve perfectly flat surfaces and consistent application, which is vital for professional-looking results. Trustworthy brands and expert guides, such as precise leveling techniques, have become my go-to resources in mastering flooring projects.
Why the Small Details Make the Biggest Difference
Waiting for leveling compounds to cure fully, checking moisture levels with simple plastic sheet tests, and adjusting installation environment might seem minor, but they are critical. These steps prevent future issues like cracks, peeling, or buckling, ensuring your floors stand the test of time. Remember, perfection is in the details—don’t rush them.
Insider Wisdom for Floors That Last a Lifetime
- Moisture Content Checks: Always test your slab with a plastic sheet; neglecting this can trap moisture beneath, causing damage over time.
- Primer Application: Using the right primer enhances adhesion dramatically. Skipping this step is a surefire way to invite problems down the line.
- Subtle Elevations: Employ laser-guided tools for detecting dips and highs, ensuring your leveling is flawless before laying flooring materials.
- Patience in Curing: Allow all compounds and adhesives to cure fully—rushing this step undermines the entire project’s integrity.
Tools and Resources That Keep Me Ahead
Beyond basic gear, I rely on essential tools like the installation pointers of seasoned pros, and insightful books that deepen my understanding of flooring techniques. These resources, coupled with practical tools like laser levels and high-quality trowels, are key to consistent success.
Your Next Move in Flooring Confidence
Taking charge of your flooring projects starts with embracing attention to detail and investing in proven tools. Whether you’re aiming for a sleek hardwood or durable tile, your careful preparation will shine through. Don’t let small mistakes sabotage your beautiful space—plan, patience, and precision are your best allies. Looking to elevate your flooring skills? Dive into expert advice and step-by-step guides available online, and watch your projects transform.
Have you ever overlooked a simple step that caused big trouble later? Share your story below and help others learn from your experience.