
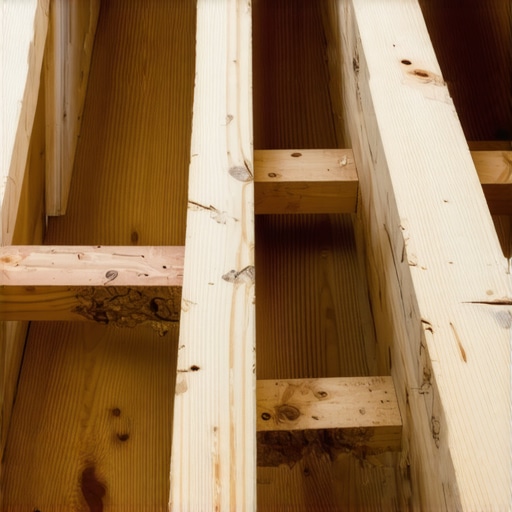
Have you ever watched a wide plank hardwood floor warp or squeak months after installation and wondered what went wrong? I certainly did. I remember the frustration of laying down those beautiful, chunky planks only to see them start cuppling or creaking before they’d even had a chance to settle. That was my ‘lightbulb moment’—realizing that one small detail could make all the difference: adding extra glue on the joists during installation.
The Hidden Secret to Long-Lasting Wide Plank Floors
In my early days of flooring installs, I brushed off the importance of proper adhesion, assuming that the type of wood and subfloor were enough. But over time, I noticed how inconsistent results could be. It turns out that wide planks—those impressive, statement-making pieces—are more sensitive to how they’re secured. Without adequate glue on the joists, they tend to develop issues like buckling or hollow spots.
What I’ve learned from personal experience and expert advice (and what I’d love to share with you) is that extra glue isn’t just a luxury; it’s a necessity for these large, heavy planks. It helps distribute stress, prevent movement, and ultimately prolong the life of your beautiful hardwood floors.
The Skeptic’s Dilemma: Is Additional Glue Really Necessary?
I remember questioning whether all that extra glue was worth the effort. Surely, if the joists are sturdy, the floors should stay put, right? Well, I made the mistake early on of counting on the subfloor alone, neglecting the subtle yet critical role of adhesive. The truth is, even the best joists need reinforcement, especially with wider planks. Research indicates that improper fastening can lead to issues like cupping or gapping, which are hard to fix after the fact.
If you’re like me and you’ve faced flooring problems that seemed unfixable, understanding the importance of proper gluing can be a game-changer. Not only does it provide immediate stability, but it also adds to the overall durability, reducing the chance of future repairs or replacements. To get the most out of your install, take a look at detailed techniques for securing your flooring, such as those described in this guide on tile and hardwood combinations.
Now, if you’re ready to dive into the practical steps necessary for a flawless floor, let’s explore what exact methods will give you those perfect, long-lasting results.
Prepare Your Subfloor for Optimal Adhesion
Start by thoroughly cleaning your subfloor, removing dust, debris, and any old adhesives. Use a vacuum and damp cloths to ensure a pristine surface. Check for uneven spots and high spots that could interfere with glue contact. Refer to floor leveling basics to address major discrepancies before gluing. A flat, clean surface is essential for proper adhesion, especially with large, heavy planks.
Select the Right Adhesive and Tools
Choose a high-quality, hardwood-specific adhesive designed for large-format planks. A trowel with a notch size of 1/16 inch works best for spreading glue evenly without excess. In my experience, using the correct trowel ensures consistent adhesion, preventing hollow spots or squeaks. Always follow the manufacturer’s instructions for open time and curing. For more tips, see installation pointers.
Apply Glue to the Joists and Subfloor
Apply a generous, continuous bead of glue directly onto each joist, similar to piping icing onto a cake. Think of it as adding a safety net underneath each plank — the glue acts like a glue trampoline, absorbing movement and distributing stress. Use the notched trowel to spread the glue consistently over the entire surface area, ensuring no dry spots are left. This step is crucial — I vividly remember the first time I applied glue with a smaller trowel, resulting in a non-uniform bond and subsequent squeaks. Now, I always double-check to cover every joist reliably.
Lay Down the Wide Plank Carefully
Position the plank onto the adhesive, pressing firmly to maximize contact. Use a rubber mallet and a tapping block to gently tap the plank into place, ensuring a tight fit. When installing my recent wide plank oak, I used a straightedge and a level to confirm alignment, making adjustments early. This method avoids gaps and ensures the panels sit flush—preventing future buckling. Remember, patience during placement leads to a much cleaner finish.
Clamp and Tape for Immediate Stability
After placing the planks, use clamps or weight bags to hold them in position as the glue cures. Think of it like setting a jigsaw puzzle — pressure ensures the pieces bond tightly without shifting. Keep the clamps firm but not overly tight to avoid damaging the wood. In one project, I used scrap wood and clamps to hold the planks overnight, which prevented any movement during the curing process, resulting in a perfectly flush surface.
Finish with Proper Curing and Sealing
Allow the glue to cure fully, typically 24-48 hours, depending on the adhesive. Avoid walking on the planks during this time to prevent shifting or indentation. Once cured, sand any uneven spots gently, then apply a suitable finish or sealant. This step locks in the glue bonds and enhances durability. For additional insights into floor care, visit hardwood care tips. By following these precise steps, your wide plank floor will stay flat, squeak-free, and long-lasting, even under foot traffic or seasonal humidity changes.
Many homeowners and even seasoned DIY enthusiasts believe that mastering the basics of flooring installation is enough for a flawless finish. However, there’s a nuanced realm of common misconceptions and advanced mistakes that can sabotage your project long before you lay the last plank or tile. One widespread myth is that perfect surface preparation means simply cleaning the subfloor of debris. In reality, subtle imperfections like minor dips, high spots, or residual moisture can cause issues such as uneven floors or adhesive failure, leading to cracks or delamination over time. For a comprehensive understanding, check out fundamentals of proper subfloor leveling to ensure your base is truly ready.
Another misconception relates to the perceived sufficiency of adhesive alone for long-lasting tile and hardwood floors. Many installers think that a thin layer of glue or mortar is enough, ignoring the critical importance of mechanical fastening and environmental considerations. Excessive moisture in the subfloor, for instance, can weaken adhesive bonds, causing tiles to loosen or hardwood to warp. Advanced techniques include moisture testing and controlled climate management, which are vital steps that even experienced professionals sometimes overlook, resulting in costly repairs. A detailed guide on mastering these challenges can be found here.
Much like in painting or masonry, the true expert recognizes that the art of flooring lies in the nuances—like the right trowel notch size, precise application techniques, or curing times. Overapplication of adhesive can be just as detrimental as too little, causing uneven bonding and hollow spots. These issues often manifest as squeaky floors or visible lippage, which could have been avoided with meticulous attention to detail, such as using a notched trowel suited for the specific tile or planks. Industry standards emphasize the importance of these advanced practices, which many DIYers miss, leading to dissatisfaction. Learn more about expert-level strategies here.
Are There Underrated Factors That Impact Long-Term Floor Stability?
Absolutely. An often underestimated aspect is the role of expansion gaps and the internal climate of your space. improper gaps not only cause buckling, but also trap humidity and dirt, accelerating wear. Additionally, the choice of underlayment, often dismissed as optional, can significantly influence the floor’s ability to accommodate moisture fluctuations and impact soundproofing. Studies show that a poorly selected or installed underlayment can reduce the lifespan of your flooring by years, and create discomfort during daily use. For insights into optimizing these elements, visit advanced leveling techniques and ensure your investment lasts.
Remember, the devil is in the details. Even small errors or overlooked factors can compound, turning what seems like a simple project into a costly setback. So, before you start your next installation, double-check your approach against these expert insights. Have you ever fallen into this trap? Let me know in the comments.
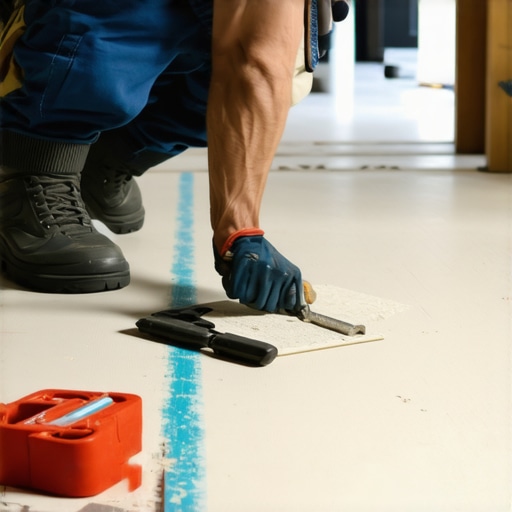
Invest in the Right Equipment for Durable Results
Having the proper tools makes all the difference in ensuring your flooring lasts over time. I personally rely on a high-quality pneumatic nailer for hardwood installations because it provides consistent, flush nailing every time, reducing the risk of squeaks or shifts. For tile work, my go-to is a wet saw with a diamond blade, which offers precise cuts and minimizes chipping, especially for large-format tiles. Using these tools not only improves the quality of your work but also saves you from costly repairs down the line.
Reflecting on my projects, I recall how a good laser level helped me achieve perfectly straight grout lines. It’s tempting to skip this step, but precision here prevents uneven appearance and hollow spots that can compromise the floor’s integrity over time. Upgrading to a self-leveling laser level has transformed my approach, making alignment effortless and ensuring a professional finish.
Prioritize Regular Maintenance Over Time
Even the best floors need consistent upkeep. I recommend establishing a routine that involves gentle cleaning methods—using microfiber mops and neutral floor cleaners—avoiding harsh chemicals that can deteriorate finishes. Applying a quality floor polish every few years has kept my hardwoods looking fresh and protected against scratches. Additionally, monitoring humidity levels with a hygrometer helps prevent expansion and contraction, which are common causes of gaps or buckling.
In my experience, early detection of minor issues like tiny creaking sounds or faint gaps can be addressed with targeted reinforcement, preventing more extensive repairs later. Using specialized products, like timber stabilization fillers for minor gaps, can extend the life of your flooring significantly.
Planning for Expansion and Long-Term Growth
Looking ahead, I see the trend of incorporating smart sensors to monitor environmental conditions as a game-changer for maintenance. These devices can alert you when humidity or temperature deviates from optimal ranges, allowing proactive measures. As flooring materials evolve, tools that facilitate quick adjustments, like adjustable expansion joints, are becoming invaluable.
Thinking about scaling your flooring project? Investing in modular systems that can be easily expanded or replaced without extensive labor ensures your investment remains flexible. I recommend exploring advanced tools like floor leveling systems that can be used repeatedly across multiple rooms, maintaining seamlessness and stability.
How Do I Maintain Flooring Over Time
To keep your floors in top shape, implementing a regular cleaning schedule combined with periodic inspections is essential. Use a high-efficiency vacuum with a soft brush attachment to remove debris without scratching surfaces. For maintenance, apply protective coats or sealants as recommended, which can be verified via expert guides like this resource on mastering floor leveling. Moreover, keep humidity stable using smart dehumidifiers or humidifiers to prevent expansion and contraction that can cause long-term damage.
Predicting future trends, I believe automation tools like robotic cleaners and IoT sensors will become standard in maintaining floor health, making it easier to spot problems before they escalate.
Don’t wait for visible signs of wear—try integrating a moisture monitor into your routine or upgrading your maintenance toolkit with a high-quality vacuum and gentle cleaners. Ensuring your flooring remains flawless for years requires consistent effort and the right gear.
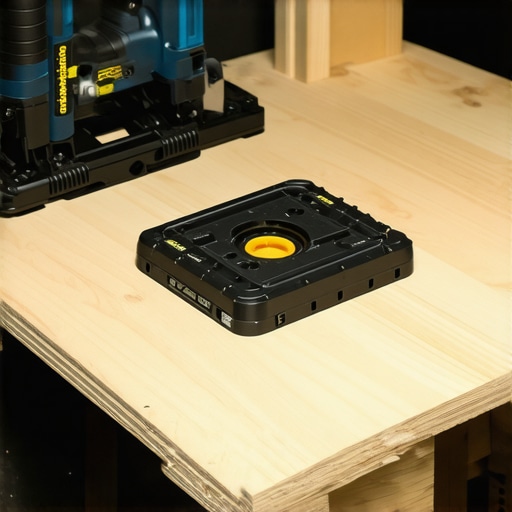
What I Wish I Knew Before Laying Wide Planks
- One of the toughest lessons I learned was the importance of meticulous subfloor preparation. Cutting corners here often led to buckling or squeaks down the line, a mistake I won’t repeat after experiencing it firsthand.
- Adding extra adhesive on the joists might seem like overkill at first, but I’ve found it to be the secret ingredient in preventing future movement and ensuring a long-lasting, squeak-free floor.
- Choosing the right tools, like a quality notched trowel and a laser level, can make the difference between a professional finish and a DIY mishap. Investing in these has always paid off in my projects.
- Understanding the nuances of expansion gaps and climate control has saved me from costly repairs, especially in areas with seasonal humidity shifts. It’s a small detail that packs a big punch.
- The most overlooked aspect? Regular maintenance and monitoring. A simple hygrometer and routine cleaning keep my floors looking pristine for years.
My Toolbox for Flooring Success
- Trustworthy tools like the [self-leveling laser level](https://tiletrendshop.com/transform-your-space-with-expert-hardwood-floor-tile-combinations) have transformed my approach to alignment and precision.
- Books such as Mastering Floor Leveling have deepened my understanding, helping me troubleshoot issues more confidently.
- Premium adhesives recommended by industry pros are crucial. They ensure the bond remains strong despite environmental fluctuations, which I learned through trial and error.
- Finally, I swear by [detailed installation guides](https://tiletrendshop.com/step-by-step-guide-to-flooring-installation-and-leveling-success) that break down each step, avoiding common pitfalls and saving me time and money.