
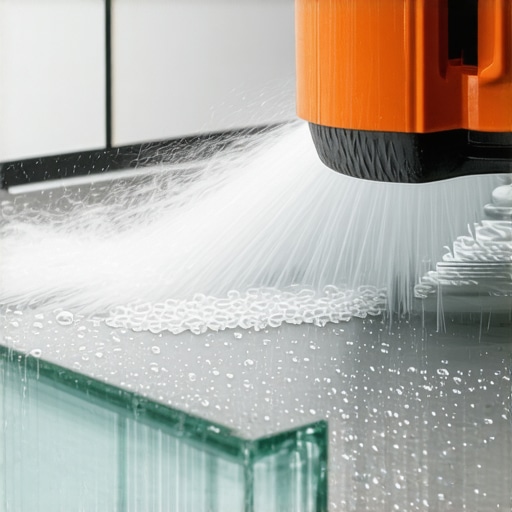
I vividly remember the frustration hitting me as I watched a beautiful glass backsplash crack right after a demanding cut. That moment of realization hit hard—my trusty wet saw, which I thought was my reliable partner, was actually causing damage I couldn’t ignore. It felt like a punch to the stomach, especially since I had invested so much time and effort into getting my kitchen exactly right.
That experience pushed me to dig deeper. I discovered that many DIYers and even pros face a common yet overlooked issue: their wet saws chipping delicate glass tiles. The worst part? Often, it’s due to simple mistakes or overlooked settings that can be corrected easily once known.
The Hidden Culprit Behind Chips and Cracks
If you’re like me, you might assume that your wet saw is just doing its job—cutting through tiles smoothly and efficiently. But the truth is, improper setup or technique can turn your saw into a source of damage, especially for glass backsplash tiles that are notorious for being fragile.
Let me ask you—have you ever experienced a pristine tile suddenly split or crack during a cut? That’s more common than you might think, and the reasons often boil down to specific causes I uncovered through personal trial, error, and research. Early on, I made a costly mistake by ignoring the importance of the correct blade for glass. It’s a mistake I won’t repeat, and I want to help you avoid it too.
Understanding these pitfalls isn’t just about saving your tiles. It’s about ensuring your beautiful glass backsplash looks flawless after installation, without those unsightly chips or cracks. Accurate cuts, clean edges, and preserving the integrity of your tiles become achievable when you know what to watch out for.
Is Your Saw Really Up to the Task?
Many underestimate the importance of the right blade and proper settings. I was guilty of using a standard blade, which contributed heavily to my issues. It wasn’t until I switched to a diamond-blade designed specifically for glass that I started seeing a real difference. The change was eye-opening and made installation much smoother.
In fact, choosing the proper blade and adjusting your saw correctly can drastically improve your results. Want extra tips? Check out our comprehensive guide on floor leveling for perfect tile installation—a step that complements precise cuts for a stunning finish.
Now, if you’ve faced the pain of chips, don’t worry. There are straightforward ways to stop this from happening again, which I’ll walk you through step-by-step. But first, let’s explore the specific settings and techniques that make all the difference.
Set Up Your Saw Like a Pro
Before making any cuts, ensure your wet saw is configured correctly. Use a diamond-blade specifically designed for glass to minimize chipping and ensure clean edges. Adjust the blade height so it just contacts the surface of the tile—setting it too high increases risk of cracks.
Secure Your Workspace
Place the tile on a stable, non-slip surface, supporting it fully to prevent movement. Use painter’s tape along the cut line to reinforce the glass and act as a barrier against splintering. I once taped a delicate piece, and it dramatically reduced chips during my first glass tile cut—saving me from costly rework.
Mastering the Cutting Technique
Mark your cut line precisely with a fine-tip marker. When cutting, go slow and steady—avoid forcing the blade, which causes splintering. Start with gentle pressure, letting the blade work its way through. I learned this the hard way when rushing a cut, which resulted in a cracked tile; now I pause, breathe, and proceed carefully.
Use a Consistent Pace
Keep the saw moving at a steady, moderate speed. Rapid passes increase vibration and chipping. For stubborn tiles, make shallow passes—gradually deepening the cut on successive tries. This incremental approach preserves the tile’s integrity.
Cooling and Cleaning
Keep the surface wet with a steady stream or damp sponge to reduce heat and friction—hot tiles are more prone to cracking. After cutting, rinse the tile thoroughly to remove glass dust, which can cause scratches or blemishes if left.
Refining Your Cuts
If you notice small chips at the edges, lightly sand them with fine-grit sandpaper or a polishing pad. Using the right technique in setup and cutting method reduces the need for extensive finishing.
Remember, patience is key. When I first tried to cut glass tiles quickly, I paid the price with damaged pieces. Now, by taking my time and following these steps, I consistently achieve smooth, crack-free cuts that elevate my backsplash’s professional appearance.
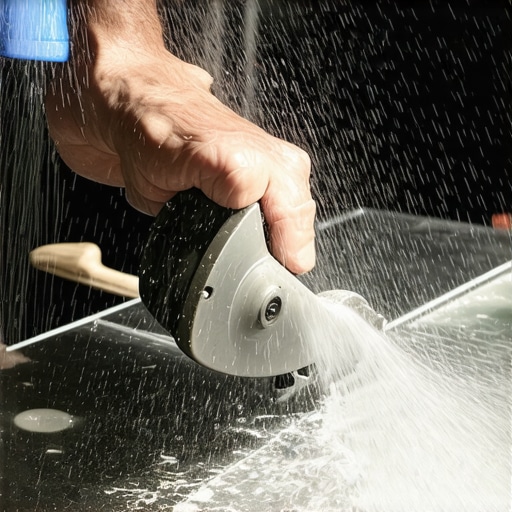 Many DIYers and even seasoned professionals believe they know everything about flooring installation and leveling, but it turns out some common beliefs are misleading. One mistake I often see is the assumption that a perfectly leveled subfloor guarantees flawless tile or hardwood results. In reality, even minor subfloor misalignments, like subtle bowing or unevenness, can cause grout cracking or hardwood gaps over time if not addressed properly. This is supported by research from the Flooring Contractors Association, emphasizing the importance of addressing substrate imperfections for long-term durability. Another misconception is that hardwood and tile installations can be treated similarly in terms of preparation and adhesion—yet, overlook the specific requirements for each material can lead to future issues, such as tile de-lamination or hardwood warping. For instance, many rely solely on self-leveling underlayments without considering their adhesion quality on existing substrates, which can cause surface delamination, especially in high-moisture areas. Advanced installers know that moisture content, precise underlayment choice, and substrate prep are critical details often missed by amateurs. A common trap is rushing through floor leveling, neglecting to check for hidden issues like subfloor rot or trapped debris, which can compromise the entire project’s integrity. Revisit our detailed guide on [floor leveling for a perfect finish](https://tiletrendshop.com/the-ultimate-guide-to-floor-leveling-for-a-perfect-finish) to avoid such costly mistakes. For seasoned pros, perfecting techniques such as mechanical fastening of subfloors or applying rapid-setting patch compounds can elevate your results beyond standard expectations. Thinking ahead about expansion joints in large tiled areas or multi-level hardwoods plays a crucial role in preventing cracks or gaps. Remember, the goal isn’t just an even surface—it’s a durable, seamless floor that stands the test of time. Want to avoid common pitfalls? Check out our [installation secrets from experts](https://tiletrendshop.com/mastering-floor-leveling-pro-secrets-for-perfect-installations). Do you think you’ve overlooked a crucial detail in your recent project? Share your experiences below or reach out via [contact](https://tiletrendshop.com/contact-us-2). Let’s drive your flooring success to the next level!
Achieving professional-quality flooring results doesn’t end once you’ve laid the last tile or installed the final hardwood plank. Proper maintenance and the right tools are essential for ensuring your flooring maintains its beauty and durability over time. Personally, I swear by high-quality vibration during sanding to avoid swirl marks on refinished hardwoods—using a random orbital sander with variable speed settings, like the DeWalt DWE6421, has saved me countless hours and money. Its ergonomic design reduces fatigue, and variable speed helps in delicate refinishing tasks.
For floor leveling, I consistently rely on a self-leveling underlayment such as the Custom Building Products LevelQuik. Its fast-curing formula guarantees a smooth, stable surface, which is fundamental for long-term success—especially if you’re tackling large areas of tile or hardwood. When applying such products, I always utilize a laser level to ensure an even surface, which modern laser levels can do more affordably than ever before.
How do I keep my flooring tools in top shape over time?
Regular cleaning is key. For power tools such as saws and sanders, I recommend wiping down blades and belts after each use and storing them in a dry environment to prevent corrosion. For example, lubricating blades with a light oil can extend their life by preventing rust, especially on blades used for glass tiles, which are more prone to damage from debris and moisture. Don’t forget to replace worn-out pads or blades—using inferior tools can compromise your entire project, leading to uneven cuts and delays. Investing in quality tools like the Bosch GTB 150 tile cutter or the Miele HEPA vacuum for dust management not only improves results but also saves money in the long run.
Beyond tools, maintaining your flooring involves using appropriate cleaning routines. I suggest sweeping regularly to prevent grit buildup, which can scratch surfaces, and avoiding harsh chemicals that can degrade finishes. For hardwood floors, periodic application of a polish such as Rejuvenate, High-Gloss Floor Restorer can restore shine and add an extra layer of protection against wear and tear. Remember, the longevity of your flooring isn’t just about installation—it’s about upkeep. As research from the Flooring Contractors Association shows, proper maintenance significantly enhances the lifespan and appearance of your floors.
What are future trends in flooring maintenance tech?
Emerging innovations like AI-powered moisture meters and smart cleaning systems are set to revolutionize how we care for floors. Imagine a device that not only detects moisture levels but also recommends specific cleaning schedules to prolong your floors’ life. Staying ahead means adopting these advances early, making your routine more efficient and effective.
If you’re eager to elevate your flooring game, I highly recommend trying out an advanced technique like precision floor leveling with laser-guided tools, which can make an enormous difference in achieving a seamless surface. Consistent care, quality tools, and embracing new tech will ensure your investment continues to shine for years to come. For more tips, check out our expert flooring maintenance guide and start implementing these strategies today.
Lessons Hidden in My Hard-Won Experience
One of the toughest lessons I learned was the importance of patience when working with delicate materials like glass tile. Rushing a cut almost always leads to chips or cracks, setting me back hours and money. Now, I take my time, marking carefully and cutting gradually, which has transformed my results. I also underestimated how crucial the right blade is—using a diamond blade designed specifically for glass makes all the difference, providing cleaner cuts and fewer frustrations. Another revelation was the significance of securing the workspace; supporting the tile properly and applying painter’s tape along the cut line dramatically reduces splintering. Lastly, I realized that detailed preparation—from adjusting the saw correctly to controlling the speed—turns a risky task into a manageable process, elevating the professionalism of my backsplash installation.