
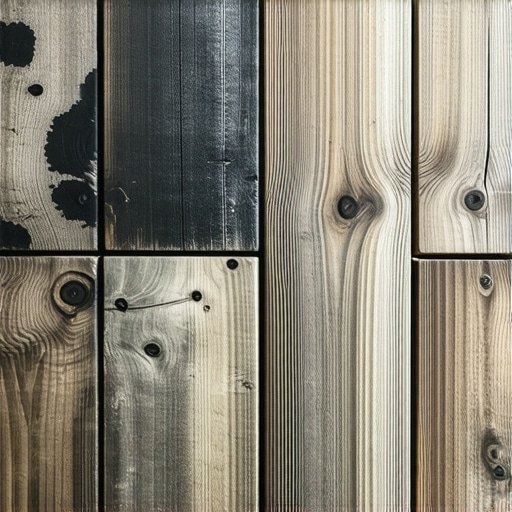
One morning, I stepped into my workshop and noticed it—an unsightly patch of dark, stubborn water stain creeping across a cherished old oak plank I had painstakingly restored. It was a *lightbulb moment*—those black water stains seemed impossible to remove, mocking my efforts. After countless failed attempts and a fair share of frustration, I realized I wasn’t alone in this struggle. Many DIY enthusiasts and even seasoned carpenters grapple with these stubborn stains, often feeling helpless and overwhelmed.
Why Addressing Water Stains on Old Oak Matters More Than You Think
Old oak planks add character and warmth to any space, but water stains threaten to ruin their beauty and value. These dark blemishes are caused by mineral deposits and mold, creeping into the wood over time if not properly sealed or cleaned. Left unmanaged, they can worsen, leading to discoloration and deterioration, ultimately undermining your investment. According to experts in wood restoration, black water stains are among the most challenging imperfections to eliminate, often requiring a mix of patience and specific techniques.
Skeptical About Repairing Water Stains? Think Again
Early in my journey, I made the mistake of trying generic cleaning solutions that promised quick fixes. Spoiler alert—they didn’t work. I also underestimated the importance of proper sealing, which allowed stains to reappear and deepen. But through trial, error, and a bit of research, I discovered effective methods that truly made a difference. If you’re worried about wasting time and money on ineffective remedies, rest assured—there are proven steps that can help you restore your old oak to its original splendor. Want to learn more? We’ll get into the practical techniques in the next sections, but first, let’s understand why these stains are so persistent and what causes them in the first place.
Start with a Deep Clean to Loosen Stains
Pull out a soft-bristled brush and a mixture of warm water and mild dish soap. Gently scrub the stained area, applying light pressure to avoid damaging the wood finish. This initial step helps remove surface dirt and begins to break down mineral deposits. I once spent hours cleaning a particularly tough stain, only to realize I needed a stronger approach, which I’ll share below. Remember, patience is key here.
Apply a Specialized Wood Brightening Solution
Next, use a commercial wood brightener or a mix of hydrogen peroxide and baking soda. Mix a paste—about three parts peroxide to one part baking soda—and spread it over the stain. Cover the area with plastic wrap to keep the solution moist. Let it sit for 15-20 minutes, checking periodically. When I tackled my own oak floor, this step visibly lightened the stain, transforming a dark blemish into a barely noticeable mark. Be cautious with the concentration to avoid bleaching the wood.
Testing First Prevents Damage
Always test your solution in a small, inconspicuous area. My mistake was rushing into full application and ending up with uneven discoloration, which was more work to fix. Testing ensures the product reacts well with your finish, helping you avoid costly mistakes.
Sand the Affected Area Carefully
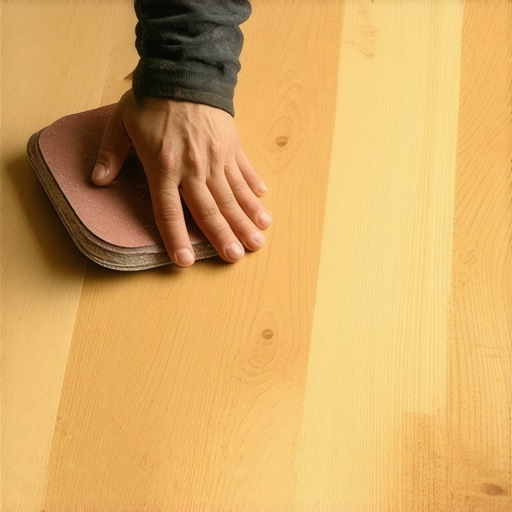
After bleaching, lightly sand the stained area with fine-grit sandpaper (around 220 grit). Use a sanding block or a detail sander to smooth out any residual dark spots. Think of this step like polishing a gemstone—removing the imperfections reveals the underlying beauty. When I tried this, I noticed the stain becoming significantly lighter, almost blending with the surrounding wood. Avoid over-sanding, as this can create dips or uneven surfaces, especially over large areas.
Seal and Blend with Restorative Finish
Finish with a matching wood stain or a clear finish to seal the area. Use a fine brush for precise application, blending the repair with the existing finish. Multiple coats may be necessary for an even look. I learned from experience that rushing this step leaves visible edges; patience here pays off. If unsure about matching color, consult a professional or test on scrap wood first. This sealing step not only restores aesthetics but also protects against future water damage.
Prevent Future Water Stains Through Proper Care
Once your oak plank looks pristine again, focus on prevention. Apply a high-quality wood sealant or polyurethane finish to create a waterproof barrier. Maintain a consistent humidity level and wipe up spills promptly. Regular cleaning with appropriate products extends the life of your restored wood. To master these techniques efficiently, check out this comprehensive floor leveling guide.
 While many DIYers and even professionals focus on the basics of tile and hardwood installation, there are nuanced pitfalls that can undermine a flawless finish. One widespread misconception is that following standard instructions guarantees success. In reality, every site has unique challenges, and a one-size-fits-all approach often leads to issues like uneven surfaces or long-term damage. For example, assuming that a general leveling compound will work perfectly on all subfloors ignores the importance of proper surface preparation—skipping steps detailed in floor leveling guides. An advanced mistake is neglecting to consider moisture content in the substrate, which can cause self-leveling compounds to peel off over time, especially in basement environments. Studies by the Tile Council of North America emphasize that improper moisture management is a leading cause of floor failure. Additionally, many underestimate how critical precise substrate preparation is, leading to imperfect tile alignment or grout inconsistencies. A common myth is that the type of adhesive used is solely responsible for bond strength, but many overlook the importance of substrate cleanliness and porosity—factors that significantly influence adhesion quality. For hardwood floors, novices often think that an even appearance means proper installation, but overlooking expansion gaps can cause cupping or buckling down the line. To avoid these traps, invest time in understanding substrate testing and the specifics of your material, as explained in precise leveling techniques. Remember, detailed attention and expert knowledge go beyond basic tutorials; they safeguard your investment and ensure a professional finish. So, have you ever fallen into this trap? Let me know in the comments, and stay tuned for more insider tips to elevate your flooring game.
Keeping It Working: Essential Tools and Maintenance Strategies
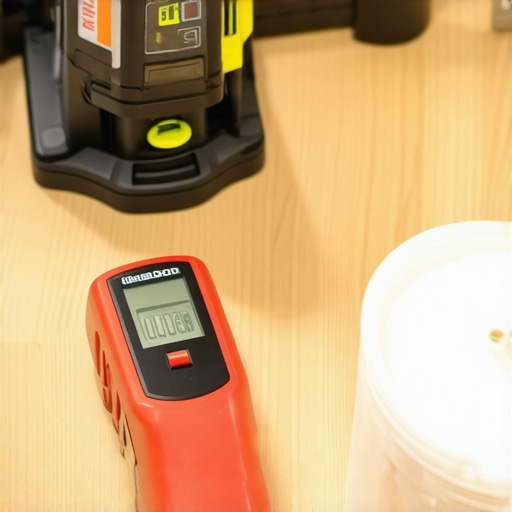
When it comes to ensuring your tile, hardwood, or floor leveling projects stand the test of time, having the right tools and adopting effective maintenance routines are crucial. Personally, I rely on a combination of specialized equipment and consistent care to maximize durability and appearance. One indispensable item in my toolkit is a high-quality laser level, such as the Bosch GLL 3-80, which guarantees precise leveling for large floor areas. Unlike traditional bubble levels, laser levels project a fixed plane across a wide surface, making it easier to identify uneven spots and correct them early, thereby preventing costly repairs later. When installing or maintaining hardwood floors, I also recommend using a moisture meter, like the Tramex CME5, to monitor humidity levels of the subfloor before applying adhesives or finishes. Proper moisture management prevents long-term issues like buckling or gaps. For floor leveling, I prefer using fast-curing self-leveling compounds from reputable brands, ensuring seamless surfaces; but remember, preparation is everything—clean, dry, and prime the substrate thoroughly.
How do I maintain flooring over time?
Regular cleaning and protective measures extend your flooring’s lifespan significantly. For hardwoods, periodic application of a quality polish or a rejuvenating finish like Bona’s Hard-Surface Floor Polish can maintain shine and seal minor scratches. For tiles, sealing grout lines every 1-2 years creates a barrier against stains and moisture infiltration. Additionally, controlling indoor humidity levels with a dehumidifier or humidifier depending on your climate can prevent wood from expanding, contracting, or warping. In high-traffic areas, consider implementing a doormat system to reduce dirt ingress, which can abrade surfaces faster. As technology advances, we’re seeing smart floor sensors capable of detecting early signs of moisture or structural shifts, which could revolutionize long-term maintenance. Stay ahead by periodically inspecting your floors—not just for superficial damages but also for subtle changes in levelness or adhesion. For a more detailed approach, I suggest reviewing this comprehensive floor leveling guide to keep your surfaces perfectly aligned over years.
If you’re looking to upgrade your maintenance routine, try integrating a digital moisture meter and a laser level into your regular checks. These tools provide precise data that help you catch problems early, saving money and preserving your investment in your home’s floors.
As the industry evolves, innovative tools like smart sensors and automated cleaning systems will become standard, allowing homeowners and professionals alike to sustain beautiful, durable floors with less effort. Embrace these technologies now, and you’ll stay ahead in ensuring your floors look great and perform well for years to come.
Lessons That Changed My Approach to Restoring Old Oak
- Patience outweighs quick fixes; rushing often deepens the stain or causes uneven finishes, so take your time with each step.
- Always test cleaning solutions in hidden areas first; I once bleached a section because I skipped this step, which made me realize the importance of small-scale trials.
- Understanding the wood’s age and previous finishes guided me toward more targeted treatments, avoiding unnecessary sanding or damage.
- Resist the temptation to over-sand; gentle, controlled smoothing reveals more of the wood’s natural beauty without compromising its integrity.
- Sealing properly after restoration prevents future water stains and preserves your hard work, making the process more cost-effective in the long run.
Tools and Resources That Elevated My Restoration Game
- A high-quality microfiber sander and fine-grit sandpaper—trustworthy because they provided smooth finishes without deep gouges, especially important for antique oak.
- Hydrogen peroxide paired with baking soda—my go-to brightening combo, as I found it safer and more effective than harsh chemical products.
- The comprehensive floor leveling guide saved me from common pitfalls during sealing and finishing, ensuring durability and aesthetic appeal.
- Professional-grade sealants from reputable brands—trustworthy because they withstand daily wear and prevent recurring stains, protecting your restored wood for years.
- Consulting detailed tutorials on floor leveling and finishing helped me understand the nuances of blending repairs seamlessly with existing finishes.
Your Turn to Elevate Your Restoration Skills
Restoring old oak with stubborn water stains is a rewarding challenge that combines patience, knowledge, and the right tools. Every project teaches us something new—so don’t shy away from trying, experimenting, and learning from each step. With these insights, you’re better equipped to revive your floors and preserve their timeless charm. Remember, mastery comes from experience; keep refining your technique and enjoy the transformation process. What’s the biggest water stain challenge you’ve faced, and how did you overcome it? Share your story below and inspire fellow DIYers to elevate their flooring skills!