
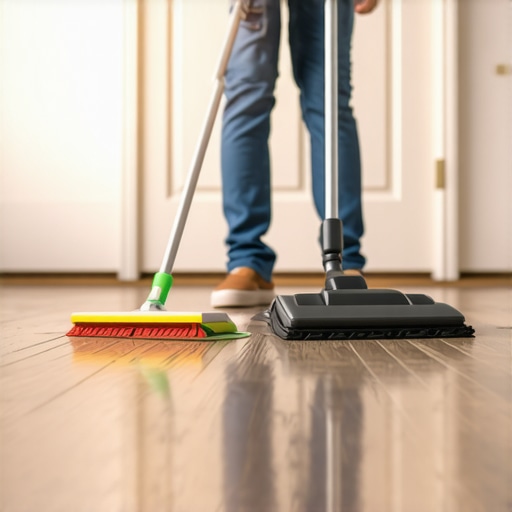
I remember the first time I stepped onto my brand-new hardwood floor, still shimmering from the installers’ work. As I reached for the mop, a strange thought struck me — what if I ruin everything with a single swipe? It sounds absurd now, but back then, I didn’t realize that a simple mop could be a silent culprit in causing permanent damage. That lightbulb moment transformed my approach to floor care, and today, I want to share why you should absolutely avoid mopping your freshly installed hardwood floors—at least for a while—and what you should do instead to keep them pristine.
Protect Your Investment: Why Patience Pays Off
Here’s the truth: hardwood floors are a significant investment, both financially and aesthetically. They add warmth, character, and value to your home. But they also come with a delicate period right after installation, during which your every move can make or break their lifespan. The temptation to clean immediately is strong—after all, who wants a dusty, muddy mess on their beautiful new surface? However, rushing to clean with water or traditional mops can lead to water absorption, swelling, and warping—problems that aren’t worth risking.
My early mistake was thinking that mopping was universally safe. I used a bucket of water and a rough scrubbing motion, assuming it would freshen up the planks. Instead, I noticed some dull spots and slight warping after a few weeks. Trust me, I learned the hard way. Properly curing and caring for your new flooring requires patience, and understanding this can save you from costly repairs later. For expert tips on preparing your subfloor and achieving a flawless installation, check out this comprehensive guide.
Is It Really Necessary to Avoid Water Completely?
It’s a common question—can’t I just wipe my floors with a damp cloth? The answer is yes, but only when your hardwood is fully cured, usually after at least 30 days. Until then, moisture is your enemy. Moisture can seep into small pores, causing plumping, buckling, or even mold in severe cases. That’s why many professionals recommend instead using a soft, dry cloth for light dusting and avoiding excess water altogether during this initial phase.
To get a better grasp of what’s involved in keeping your hardwood floors in top shape, especially during the vulnerable early days, it’s helpful to know the common mistakes most homeowners make—like rushing to clean or using overly damp mops—that can ruin a perfect installation. For detailed insights, I recommend reviewing this article on flooring mistakes.
So, if you’ve recently had hardwood installed, have you faced the urge to clean right away? Or perhaps you’ve already made a misstep? Don’t worry — understanding what to do now can make all the difference. Up next, I’ll walk you through the simple, proven steps to care for your newly installed floors properly, ensuring they stay beautiful for years to come.
,
Allow the Wood to Cure Completely Before Cleaning
Once your hardwood flooring has been installed, resist the temptation to jump into cleaning. Instead, give the wood at least 30 days to acclimate and cure, which allows excess moisture to evaporate and stabilizes the wood’s structure. During this period, avoid using water-based cleaners or mops. Instead, keep the surface free of dust using a soft, dry microfiber cloth, much like how you would gently dust a delicate piece of artwork to prevent scratching or moisture damage.
Choose the Right Cleaning Tools and Methods
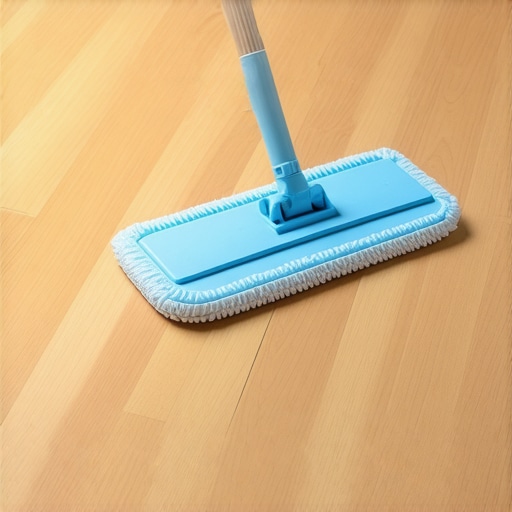
After the initial curing phase, switch to gentle cleaning techniques. Use a soft, damp microfiber mop with just a splash of hardwood floor cleaner, avoiding excessive water. Think of it like wiping a glass surface—lightly and carefully. An effective tip from my experience: dampen the mop, wring out all excess moisture, and move backwards across the floor to avoid spreading water into seams or edges. Never pour cleaning solution directly onto the floor; instead, mist the cloth or mop for better control.
Avoid Harsh Chemicals and Abrasive Materials
Stay away from ammonia-based cleaners, bleach, or steel wool, which can dull or scratch the finish. I once experimented with a harsh cleaner on a small corner and noticed the finish became cloudy over time. To prevent this, select cleaning products specifically formulated for hardwood and test them in inconspicuous areas first. This cautious approach preserves the finish’s integrity and prolongs the life of your flooring.
Implement Proper Dust and Debris Management
Dust, dirt, and grit are the silent enemies of hardwood floors. Regularly sweep or vacuum with a soft-bristle attachment to remove debris that could scratch the surface. Think of it as grooming a pet—gentle but thorough. During my last project, I invested in a high-quality microfiber dust mop, which trapped dust effectively without scratching delicate finishes. This simple step prevents micro-scratches and maintains the floor’s shine longer.
Protect Floors During Routine Activities
Use furniture pads under legs and avoid dragging heavy objects across the surface. For instance, I once moved a heavy bookshelf without pads, leaving scratches that needed professional refinishing. Placing felt pads or soft carpets under furniture minimizes this risk. Additionally, keep pet nails trimmed to prevent accidental gouges, especially in households with high-energy dogs. These precautions significantly reduce scratches and preserve your investment’s beauty over time.
Address Spills and Water Accidents Immediately
If water spills or pet accidents occur, wipe them up promptly with a dry cloth. Even slight dampness can cause swelling or warping if left unattended. I learned this lesson the hard way when a small cup of water was forgotten on the floor overnight, resulting in a visible water mark. Using a dry cloth or towel immediately prevents moisture absorption and maintains your floors’ pristine condition.
Regular Maintenance Keeps Floors Glowing
Periodic conditioning with a hardwood polish or conditioner replenishes the finish and prevents dullness. I recommend applying a product like hardwood floor polish every 3-6 months after thorough cleaning. It acts as a protective shield, similar to how moisturizer keeps skin healthy and vibrant. Consistent maintenance ensures your floors not only look stunning but also endure the test of time.
 Many homeowners believe that choosing the right flooring material is all it takes for a beautiful, long-lasting floor, but the real secret lies beneath the surface—literally. One common misconception is that as long as the top looks perfect, the installation was flawless. However, subtle errors such as improper subfloor preparation or neglecting precise leveling can lead to issues down the line, including cracks, lippage, or warping. Actually, mastering the nuances of subfloor flatness and understanding how small imperfections influence tile lippage or hardwood gaps can save you headaches and money. In fact, according to flooring experts, a minor 1/8-inch deviation in levelness over a 10-foot span can cause noticeable unevenness, especially with large-format tiles or engineered wood. This is why detailed assessment and corrective measures—such as grinding high spots or applying self-leveling compounds—are crucial steps often overlooked by DIYers.
Why does overlooking subfloor conditions lead to costly mistakes in the long run?
Neglecting proper subfloor evaluation allows undetected dips and humps to compromise not just visual appeal but also flooring integrity. Water accumulations and uneven stress distribution can accelerate wear or cause delamination. To avoid these pitfalls, professional-grade techniques for floor leveling are recommended, and resources like this comprehensive guide offer valuable insights. Remember, investing time in thorough preparation is equivalent to investing in durability and beauty that endures. Similarly, many assume that laying tiles or hardwood over existing uneven surfaces is acceptable; however, this shortcut often results in lippage and uneven gaps, diminishing aesthetic quality and risking damage. Proper subfloor preparation, including moisture testing and flatness verification via a ‘3-foot level test,’ is a vital step to ensure a flawless installation. For detailed methods, check out this expert resource. Don’t let misconceptions undermine your project; understanding and executing precise leveling strategies is the real game-changer. Have you ever fallen into this trap? Let me know in the comments.
Investing in the Right Equipment for Flooring Longevity
Maintaining your floors over time requires more than just regular cleaning; it demands the right set of tools that enable you to address issues proactively and effectively. Personally, I rely on a high-quality oscillating multi-tool for small repairs, such as squeaky hardwoods or minor gaps. Its versatility allows me to sand, scrape, or cut with precision, saving time and preserving the finish. For larger projects, a professional-grade floor buffer with variable speed settings is indispensable for restoring shine and removing stubborn stains without excessive abrasion. These tools not only extend the lifespan of your flooring but also help you avoid costly professional interventions down the line.
In the realm of leveling and installation, a laser level has become my go-to device. Unlike traditional bubble levels, laser levels provide a plane of reference across the entire floor, ensuring consistent flatness—crucial for both tile and hardwood installations. This kind of precision makes the difference between a flawless finish and uneven gaps that diminish both appearance and durability. As the trend leans toward larger tiles and more intricate hardwood patterns, the importance of such technological aids will only grow, pushing DIYers and professionals alike toward more accurate and efficient methods. For mastering floor leveling techniques, I recommend exploring this guide.
How do I maintain my flooring tools over time?
Regularly cleaning and proper storage are key to prolonging the life of your flooring tools. For example, after each use, wash sanding pads and brushes with mineral spirits or a manufacturer-recommended cleaner to prevent buildup. Keep your laser levels and oscillating tools in a dry, dust-free environment, ideally in their original cases or padded storage to avoid damage. Additionally, scheduling periodic calibrations for laser levels ensures continued accuracy, especially before major leveling projects. Staying on top of maintenance not only keeps your tools performing optimally but also contributes to consistent, high-quality results in your flooring projects.
Predictably, as technology advances, we’ll see more integration of smart sensors and AI-assisted leveling devices, making floor preparations even more foolproof. Embracing these innovations now positions you ahead in the game, reducing errors and enhancing the overall quality of your installations.
If you’re looking to elevate your flooring efforts, I suggest trying the latest self-leveling pour techniques combined with precise leveling tools. These methods can transform a tedious process into a straightforward, reliable operation—ultimately ensuring your floors stay level and beautiful for decades. For in-depth strategies, don’t forget to check out this expert tutorial.
What I Wish I Knew When I Started
One of the most eye-opening lessons I learned about hardwood flooring is the importance of patience during the curing process. Rushing to clean or apply treatments too early can compromise the finish and lead to costly repairs. Also, I underestimated how critical subfloor preparation is; even slight deviations in levelness can cause lippage and gaps that ruin the aesthetic—mastering precise leveling techniques has been a game-changer for me. Lastly, I realized that investing in quality tools, like laser levels and proper primers, saves time and ensures a flawless result, emphasizing that smart preparation is better than hurried work.
My Arsenal of Trusted Resources for Flooring Success
For anyone aiming to master flooring installation and care, I highly recommend starting with this guide on floor leveling techniques—it transformed my approach to subfloor prep. To ensure long-term durability, I rely on expert advice from hardwood floor care secrets, which covers maintenance routines that keep floors shining. When I need practical troubleshooting tips, I turn to this resource on polyurethane issues, helping me avoid common pitfalls. And for innovative leveling solutions, this expert tutorial offers step-by-step strategies that I now swear by.
The Motivation to Keep Moving Forward with Confidence
Your journey with hardwood floors doesn’t end after installation; it’s an ongoing relationship built on proper care and knowledge. Every small effort, from using the right tools to understanding curing times, adds up to floors that last a lifetime. Remember, the real beauty of high-quality hardwood is revealed through the consistent patience and attention you dedicate to it. Don’t let initial mistakes discourage you—each step you take now sets the foundation for stunning, durable floors that will be the envy of your home for decades. Embrace the process, stay committed, and enjoy the transformation—your future self will thank you for it.
Comments are closed.